2016 m. kovo 18 d., penktadienis

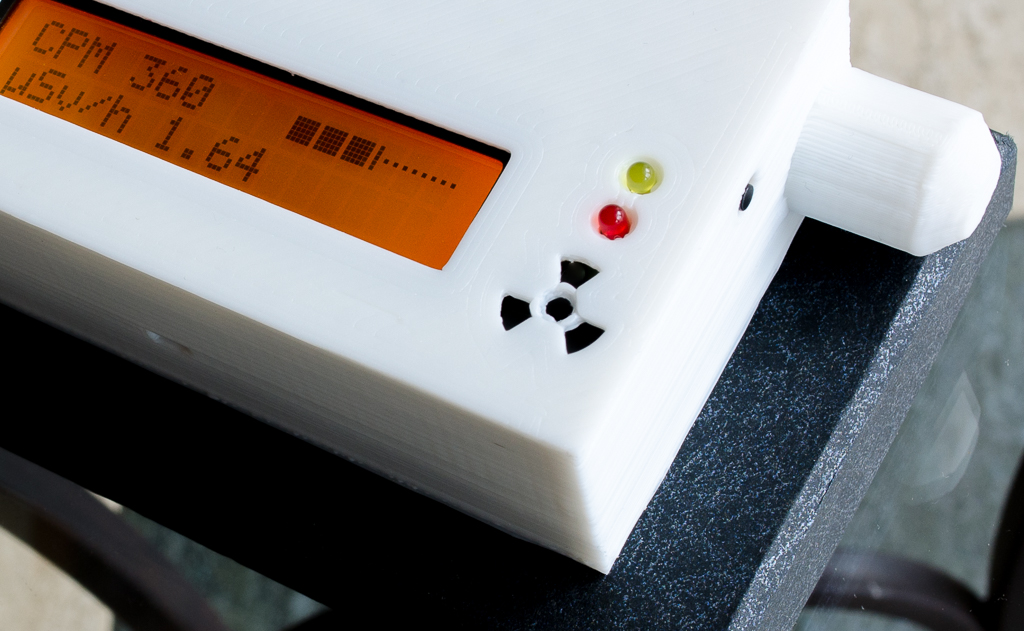
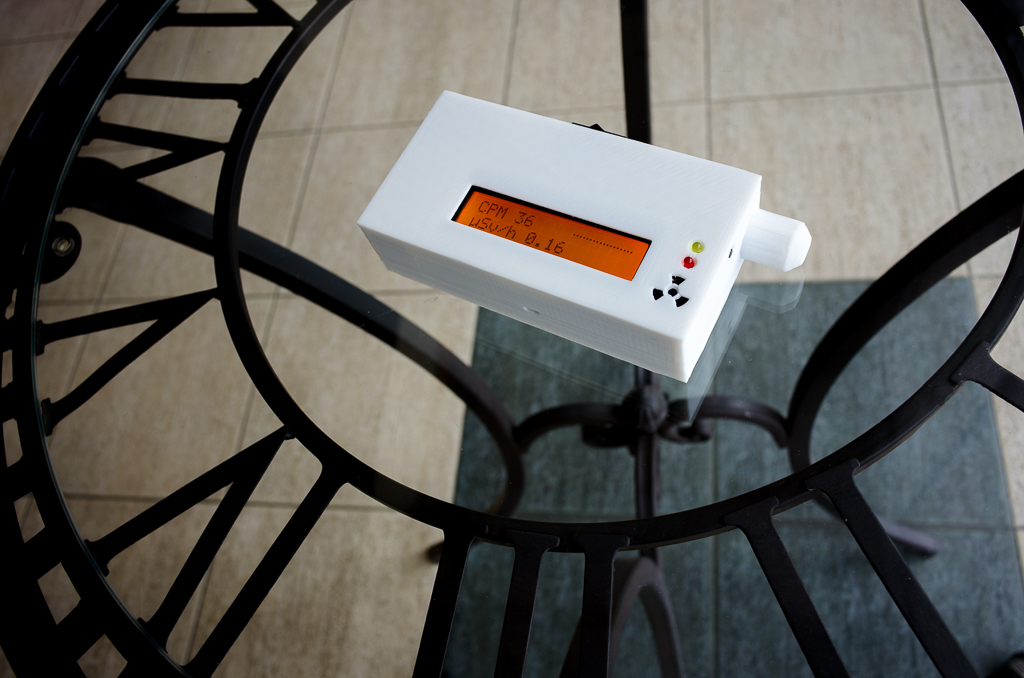
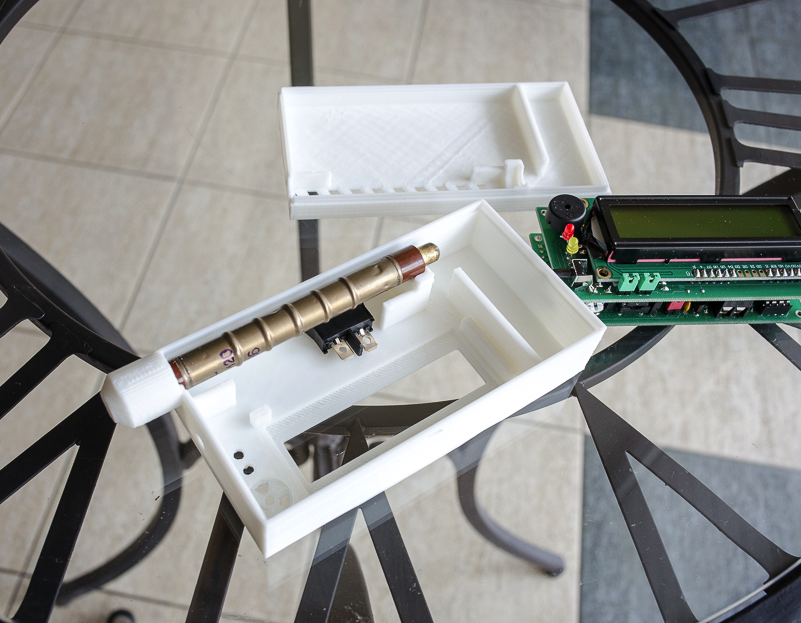
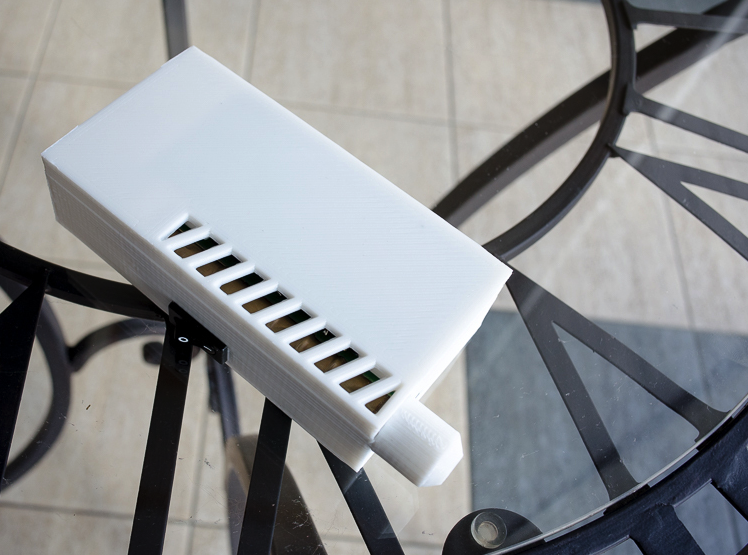
A new (à la Vindolin's ) 3D printable enclosure for SBM-20 tube on thingiverse.com (thing number 1422928)

Recently several nice 3D-printable enclosures for geiger counters have appeared on thingiverse.com  so if you are a 3D printing enthusiast and have a 3D printer it might well be of an interest.

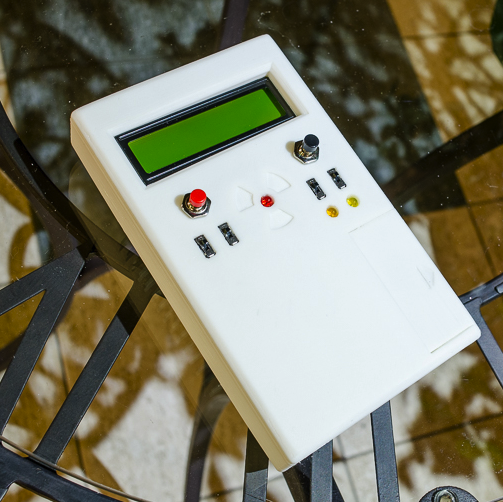
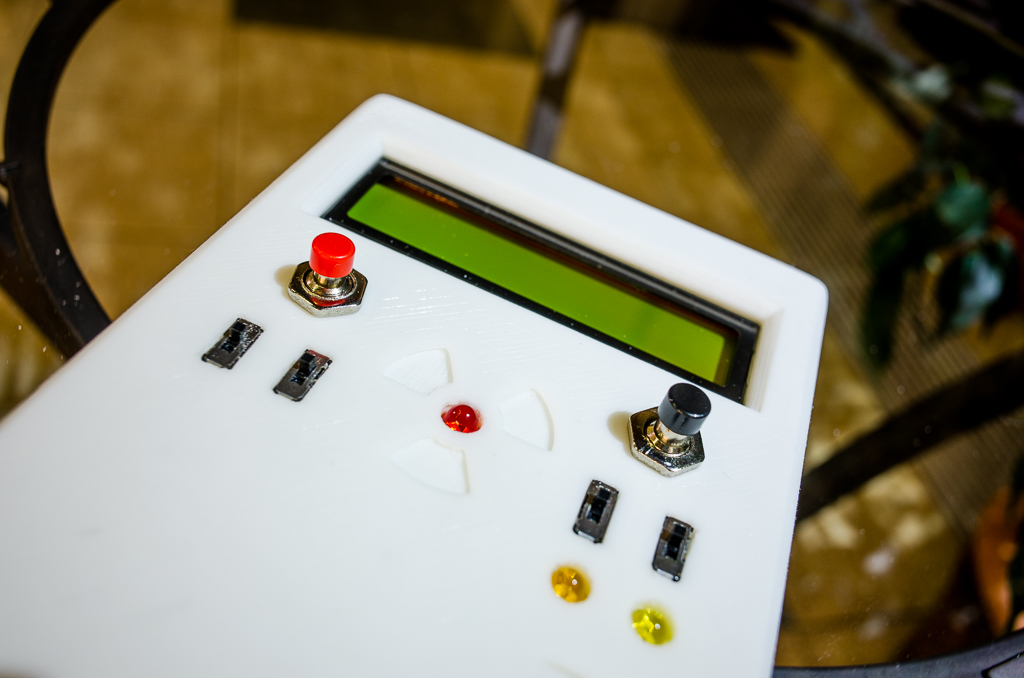
Here is one more interesting one (thing number 1422928) which is for the kit with  the LCD shield . It is designed by the thingiverse.com user glassy.

This enclosure is remixed from the user Vindolins design which was originally for si29bg Geiger-Müller tube) (thing number 270764) and is for the SBM-20 tube

This enclosure also has holes for installing the power-switch, mode change button, SBM-20 tube "grill" and iR receiver window.  It also has a channel to insert the wire, which will connect one of the SBM-20 tube contact - so you will only need a clip (usually a 6mm fuse clip) to connect another contact.


Also user glassy  has designed an SBT9 tube adapter (thing 1397200) for the Vindolins enclosure 


A newly designed 3D printable enclosure by RadioNuclei95 on thingiverse.com (thing number1418799)

Recently several nice 3D-printable enclosures for geiger counters have been designed and shared on thingiverse.com  so if you are a 3D printing enthusiast and have a 3D printer it might well be of an interest.

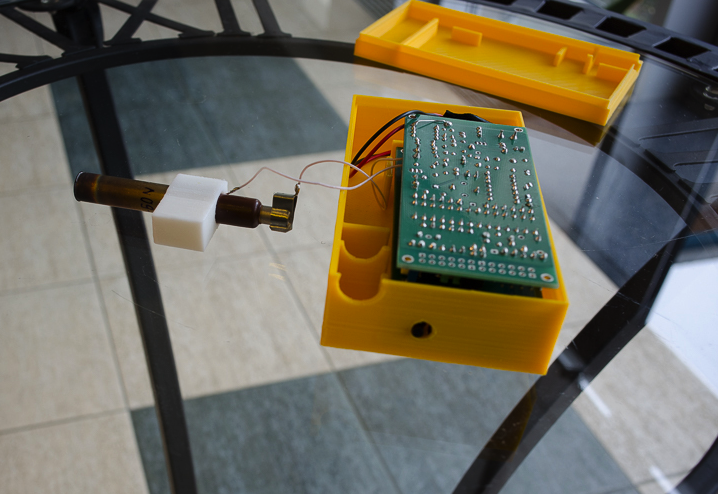
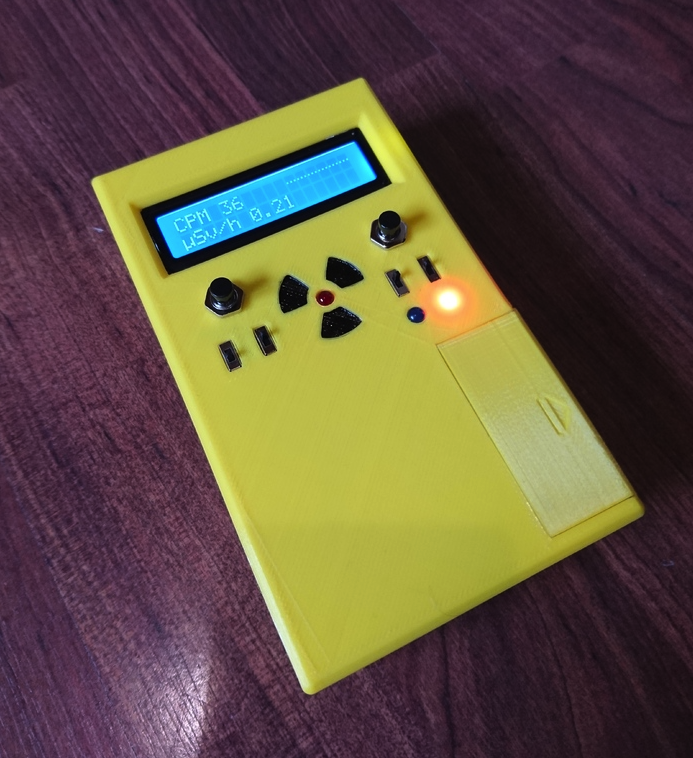
Here is the one (thing number 1418799) which is for the kit without the LCD shield (where the LCD is connected by multi-wire cable). It is designed by the thingiverse.com user RadioNuclei95 .
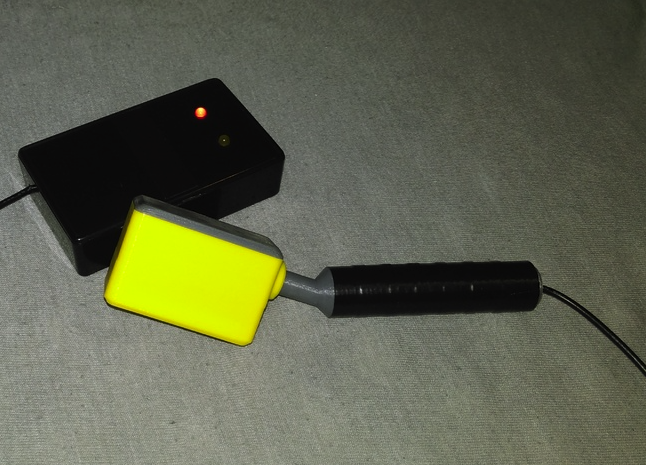
The enclosure was originally designed by the user for two tubes SBM-20 which is installed inside and there is a hole for connecting SBT11 probe  externally.


Below is the SBT11 probe (thing number 098311on thingiverse.com )designed by the RadioNuclei95


2015 m. kovo 28 d., šeštadienis

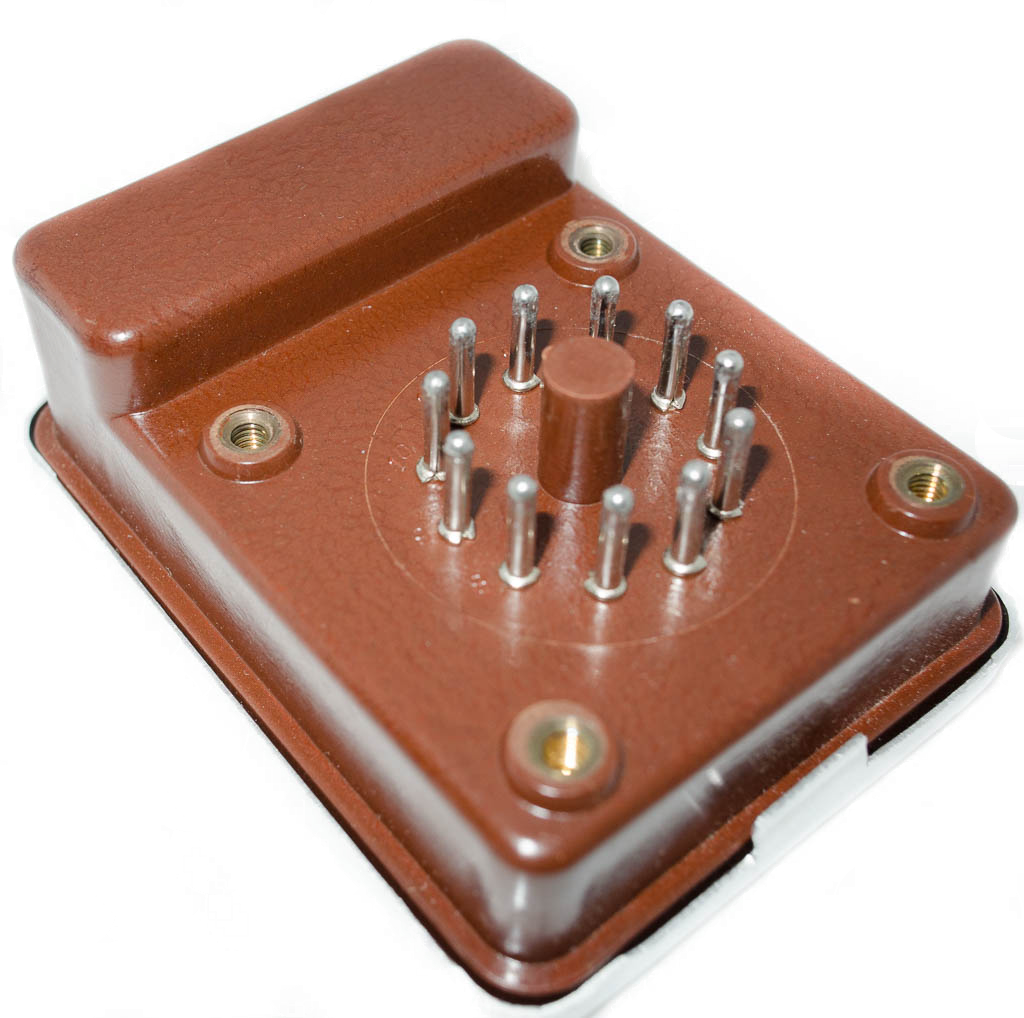
A new contact socket for SBT-10 (СБТ-10), SBT10A(СБТ-10А) Geiger-Müller tubes

Original contact sockets for SBT10 SBT10A Geiger-Müller tubes are rather rear and quite expensive.
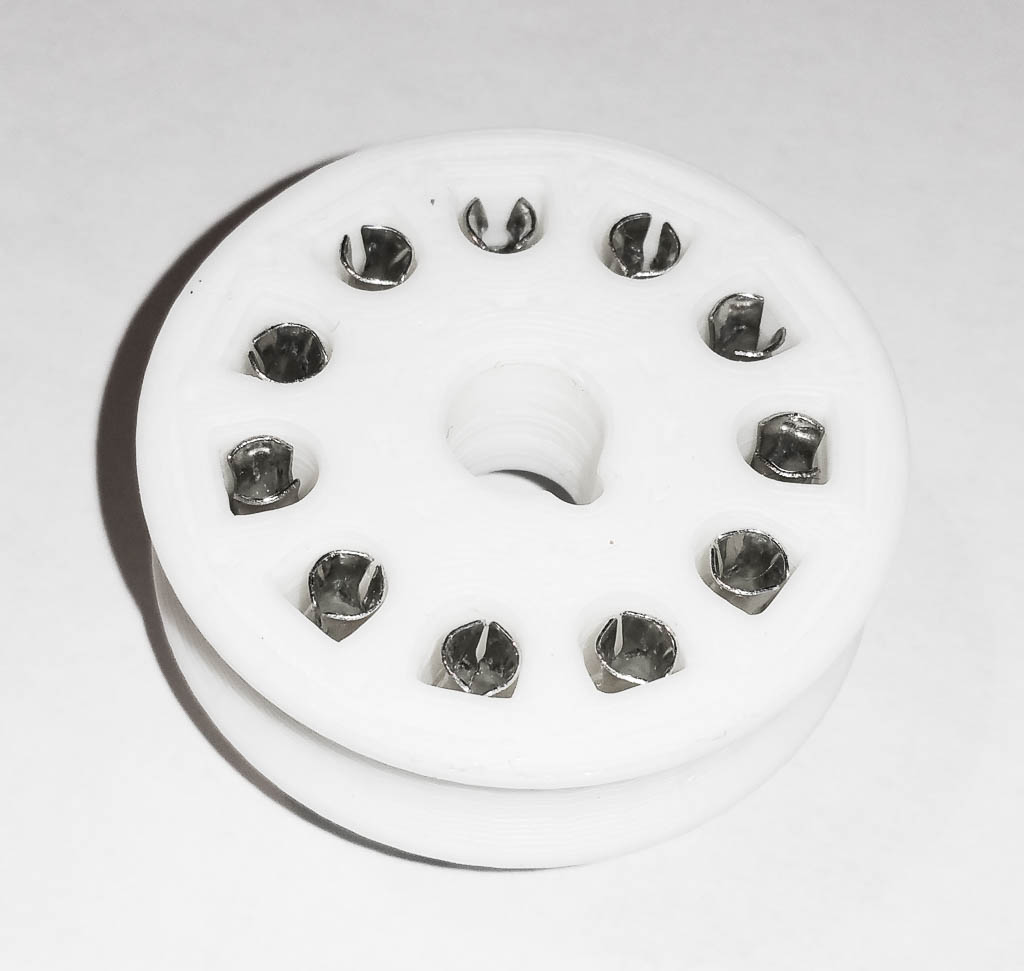
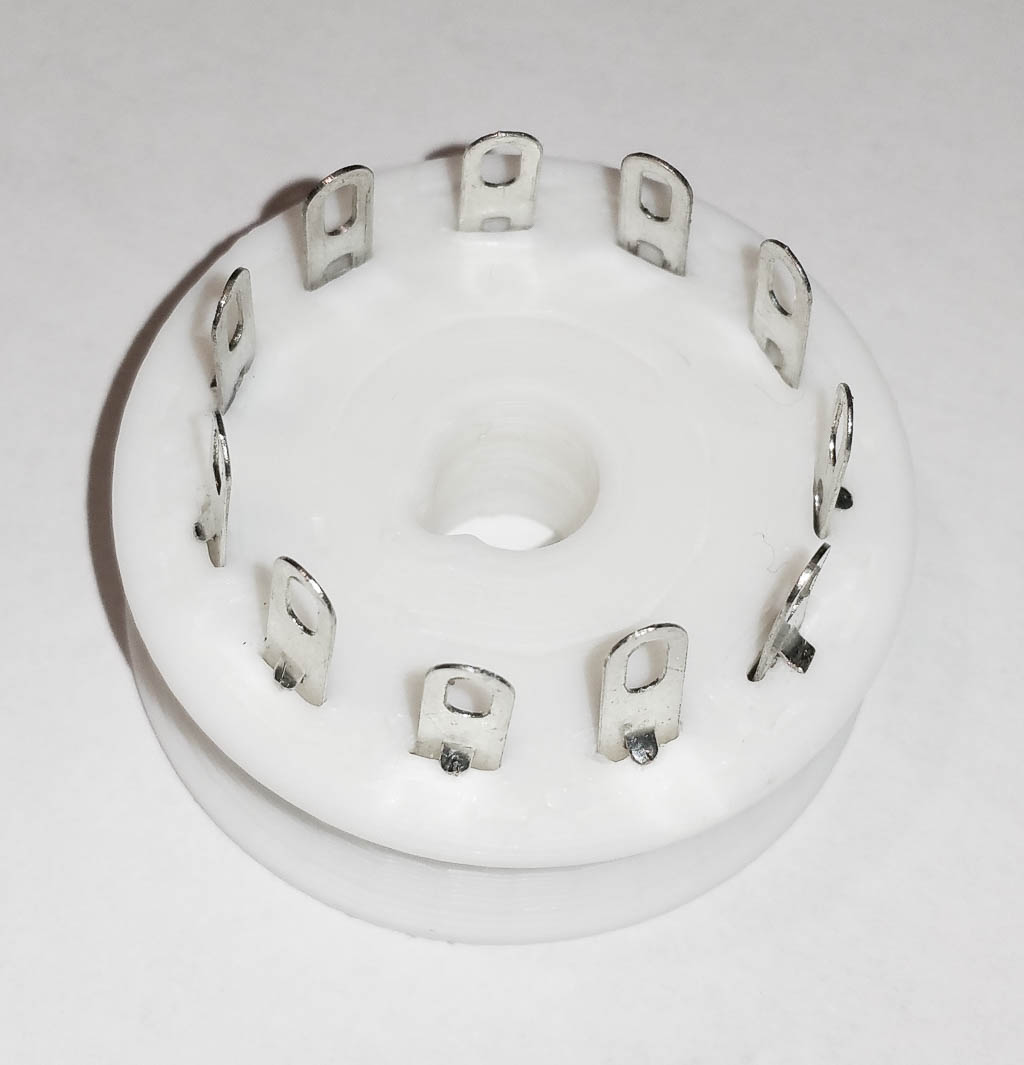
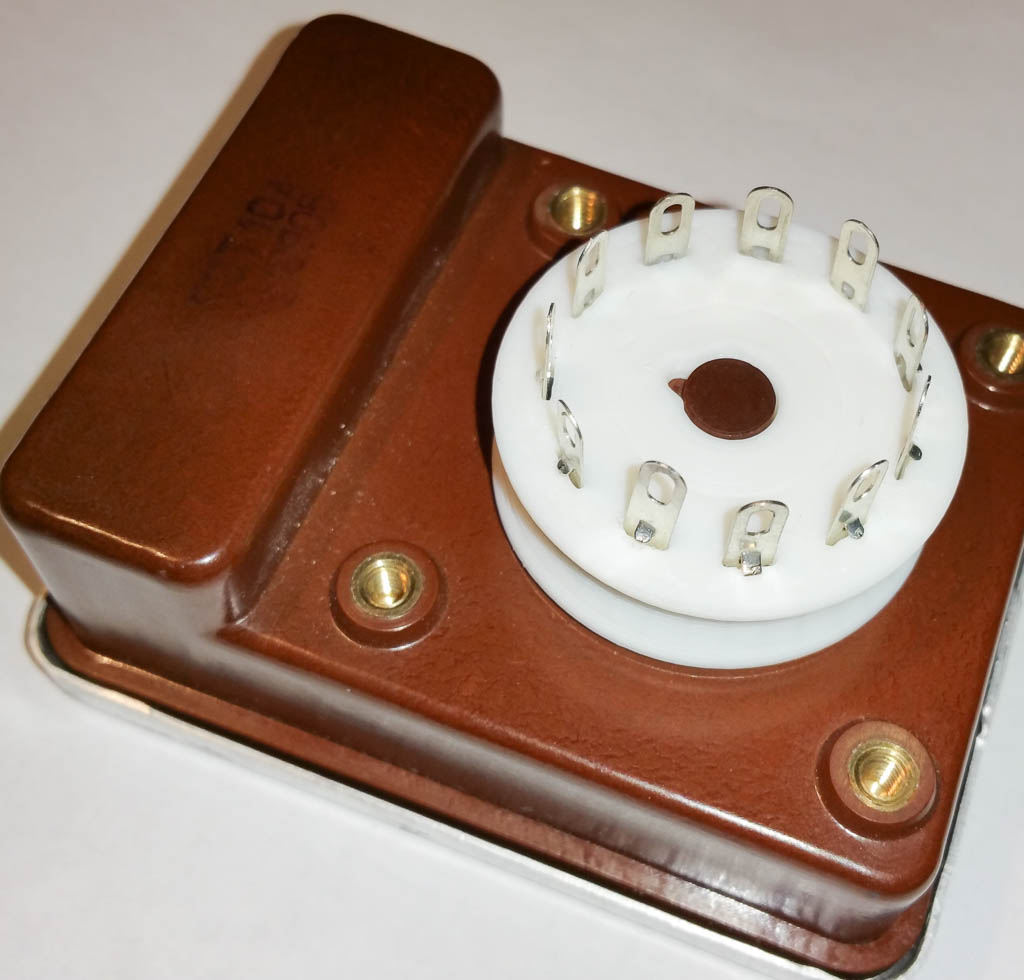
So I have decided to design one. Printed with PLA filament on a 3D printer and equipped with factory made contactы it appeared to be quite a success:


Fits perfectly and is quite easy to remove (removal though should be done gradually by carefully lifting it around the  perimeter in order not to break the key - it is because here are 11 contacts which hold on well)


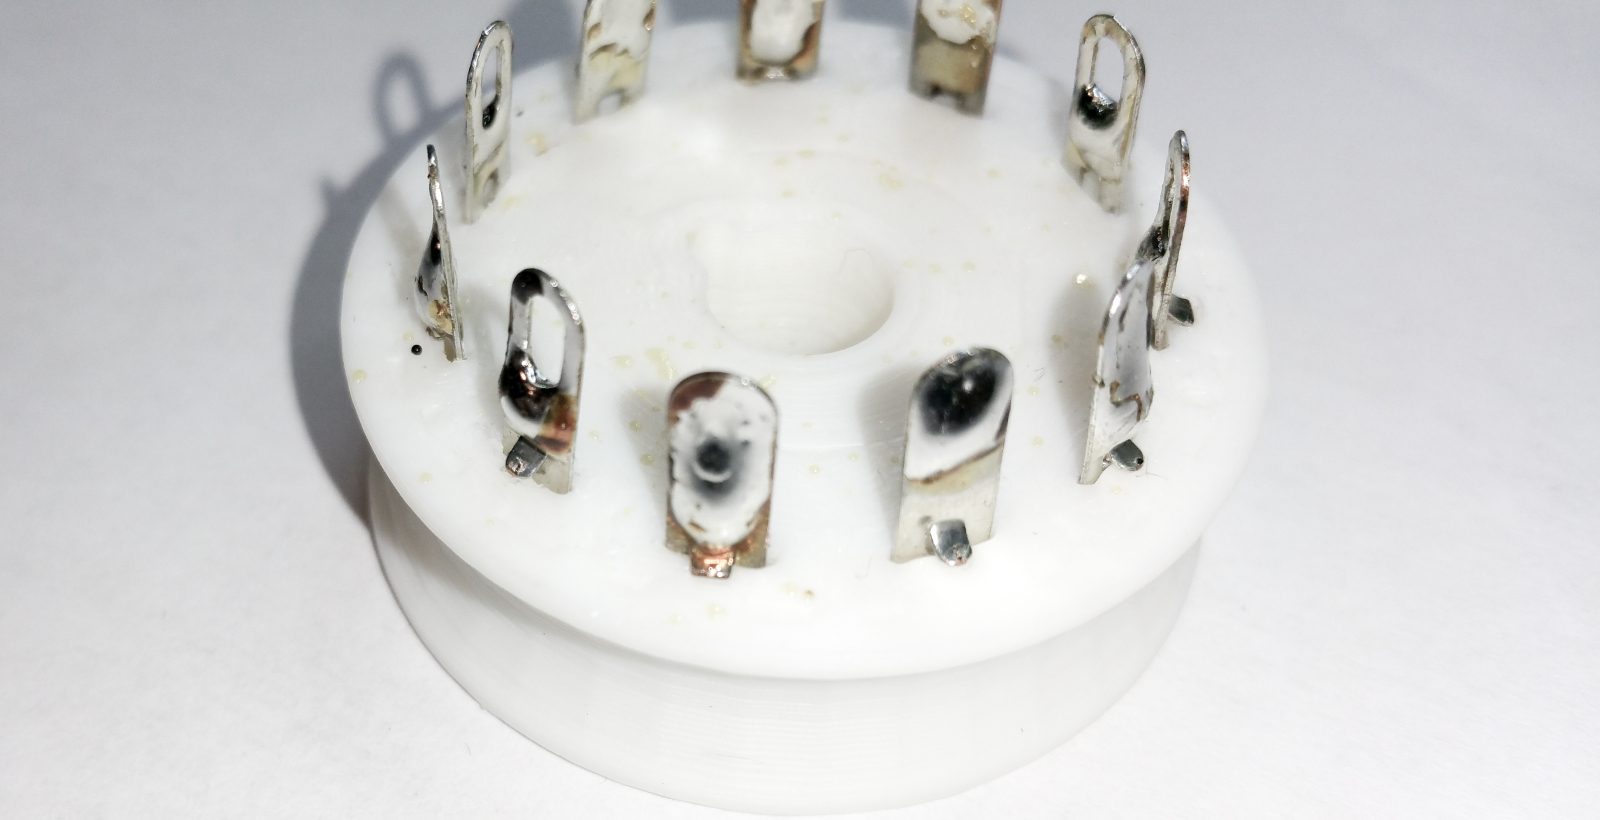
When normally soldering the contacts, no melting of PLA occurs:


If you like/need one you can by it instantly by clicking on this PayPal  "Buy Now" button.


Alternatively, if you need only pins you can buy them by pressing the below "Buy Now" button.


and print the body of the socket on your own 3D printer yourself.

The .stl file can be downloaded here:

https://www.dropbox.com/s/5rx0n3uvuwv7khh/SBT10socket.stl?dl=0

If the above design appeared useful, you might wish to show your appreciation by making a donation  by pressing on the below button:


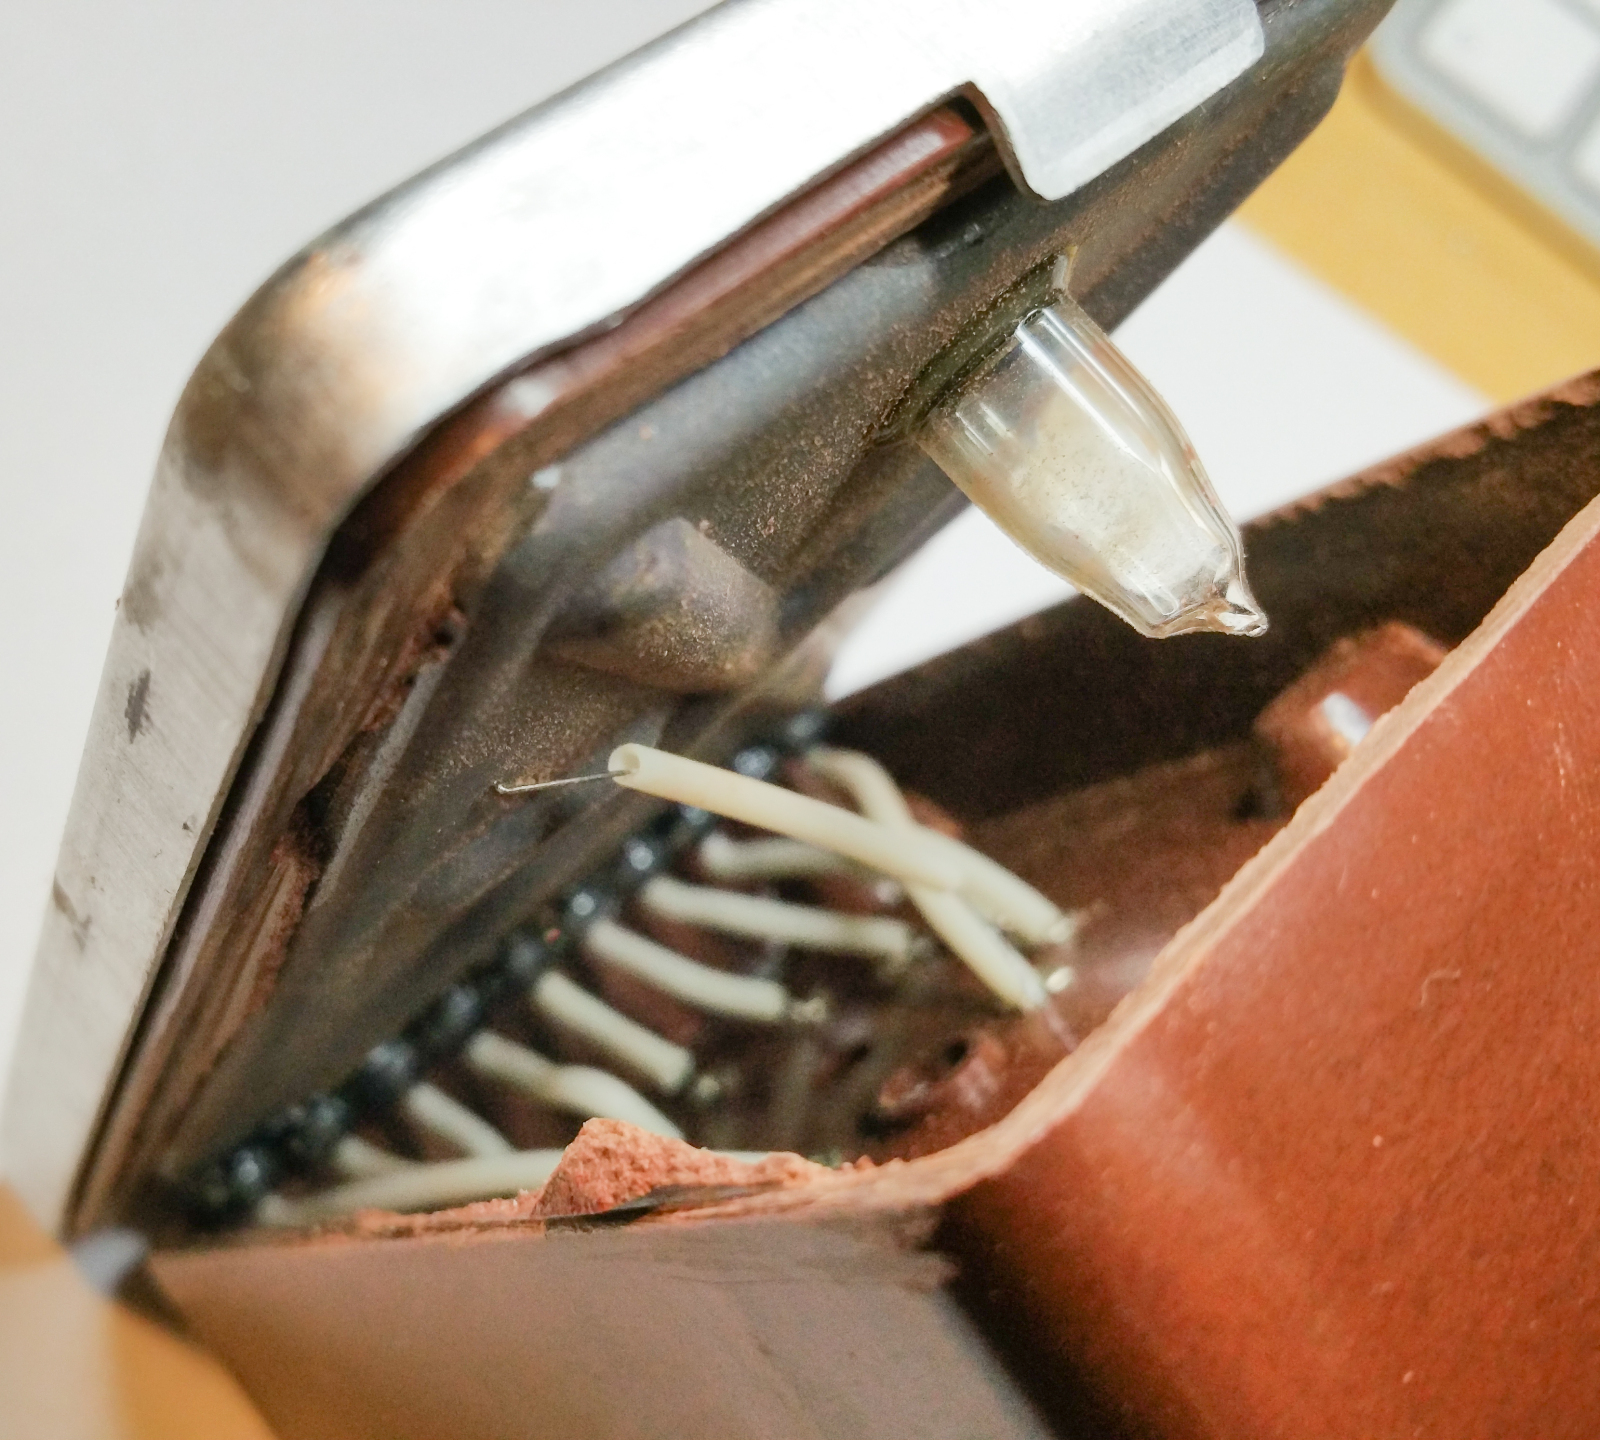
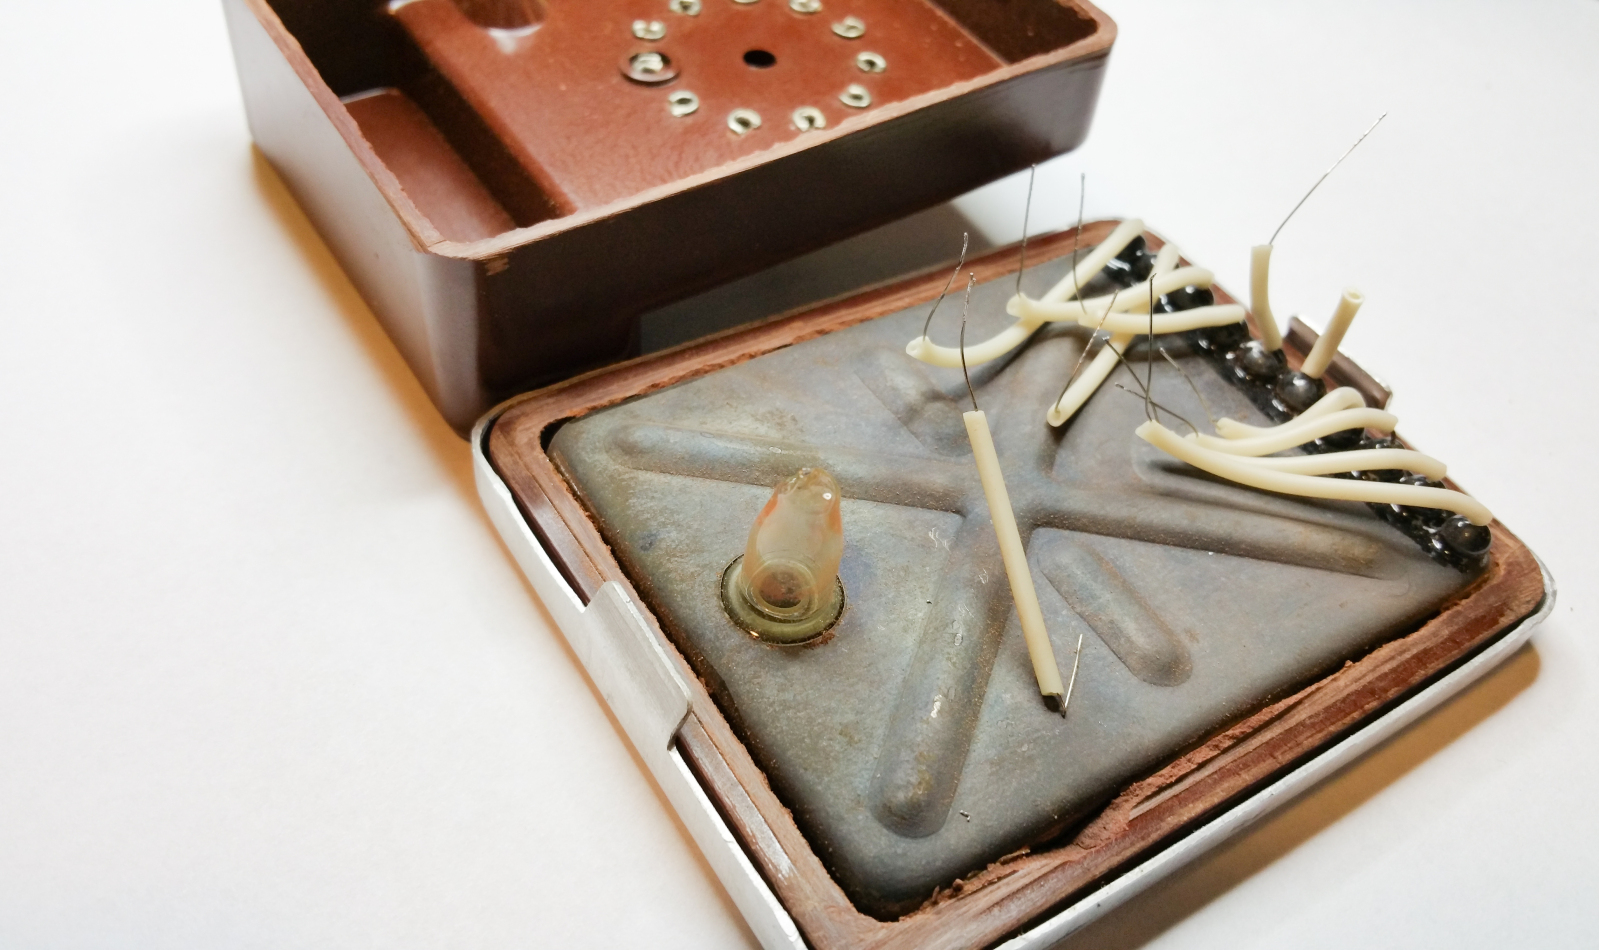
Inside SBT10A(СБТ-10А) Geiger-Müller tube

I have recently got a question if it is possible to remove the carbolite (plastic) body of the SBT10A(СБТ-10А) Geiger-Müller tube to leave only the "bulb".
Got interested myself, as I have seen  si8b tubes reduced in size/weight this way I found one defective SBT10A and cut with a metal hand saw around the perimeter.


Apparently it is possible, but cutting should be very careful. You should avoid pressing the tube because if geometry of the perimeter is changed, the mica window could pop-open and kill the tube.
This is even more possible as the pressure of gasses inside the "bulb" is lower than the one outside.

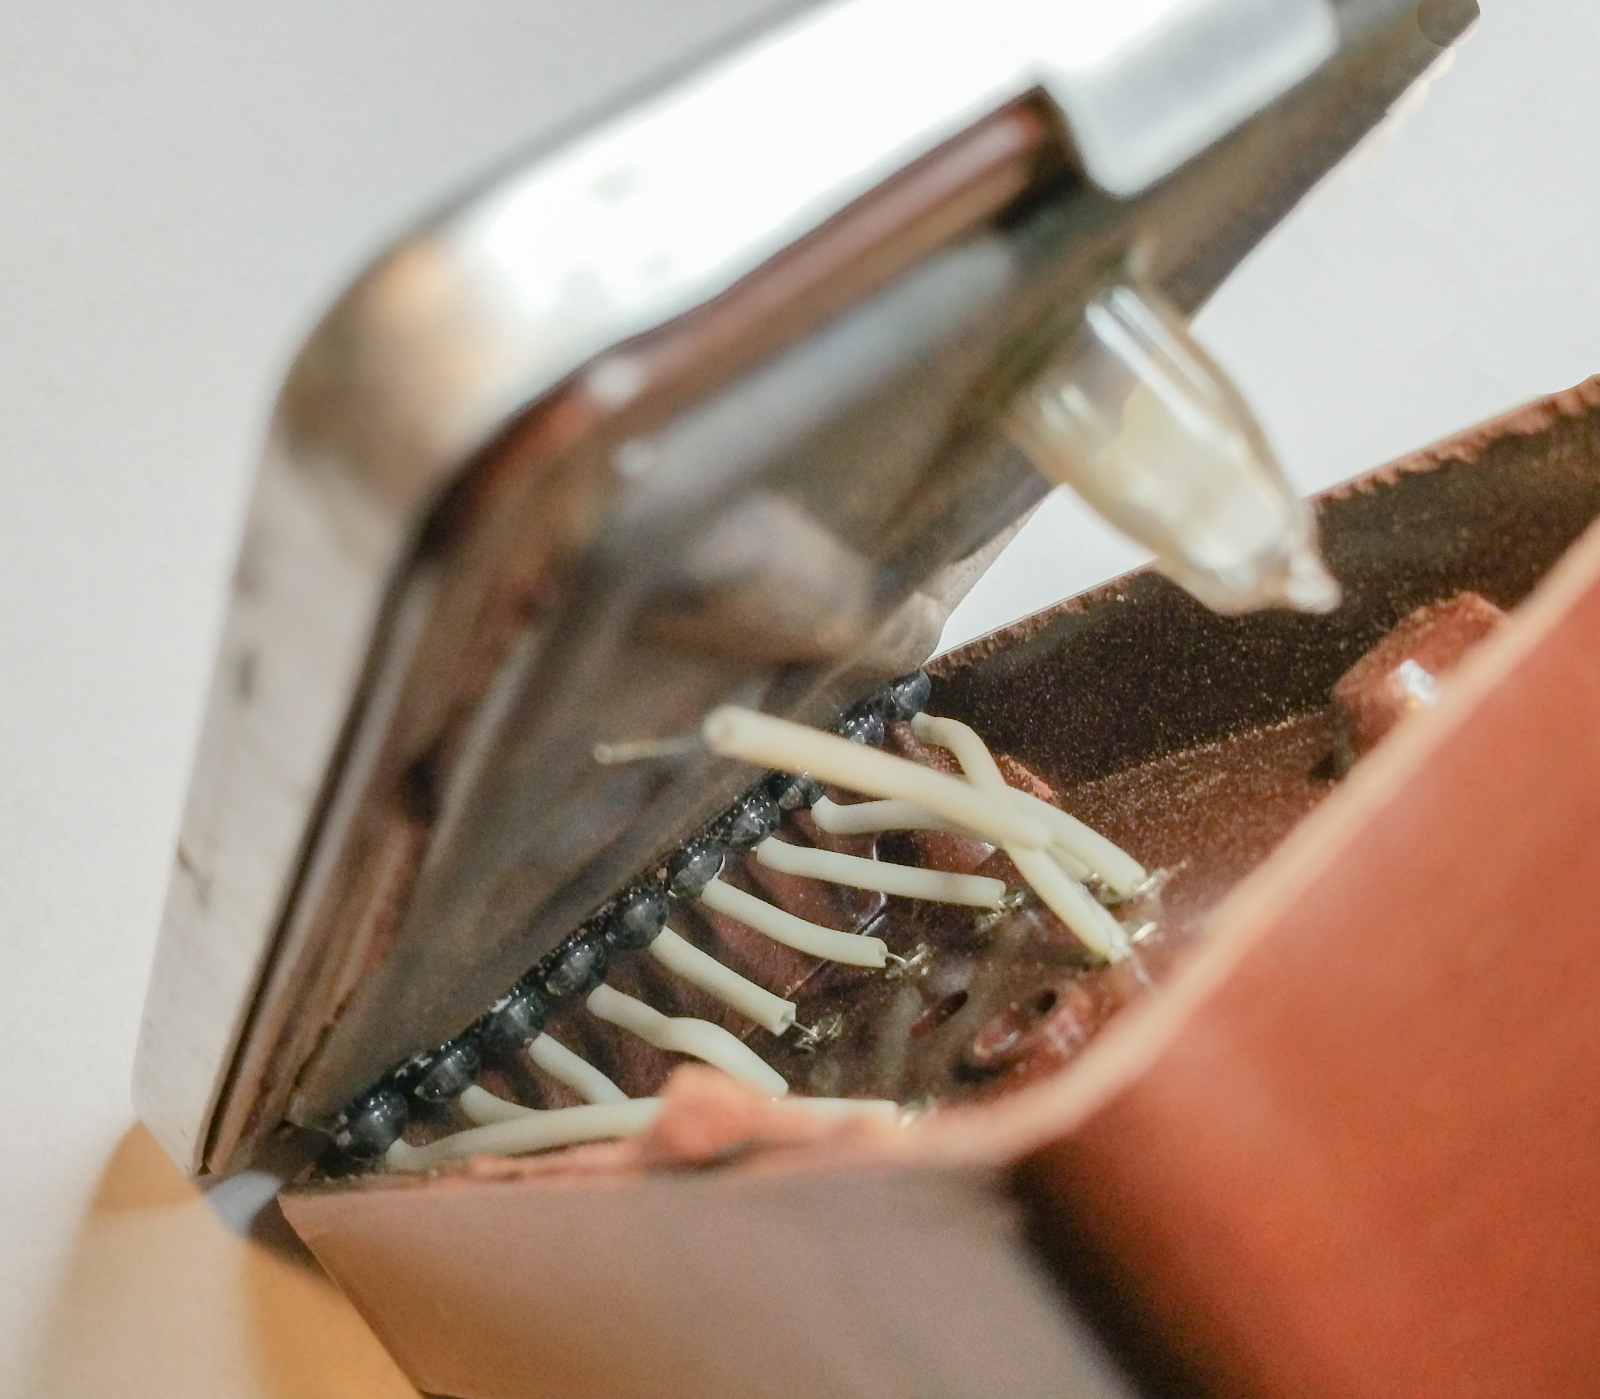
Also it is important not to penetrate through the perimeter inside in order not to damage the glass appendix of the "bulb" or the wires which come out straight of glass or are point-welded to the exterior of the "bulb" (cathode)

So when you have it cut around the perimeter - first thing is to desolder the cathode wire from the pin 11 (cathode wire is simply soldered inside the pin 11)


Then desolder all other wires from their pins going from topmost (pins 1 and 10) to the bottom-most -pin 6.

However all goos is while it is good - so all risks are to yourself - please note, I have been disassembling the already broken tube ...

If instead you decide not to risk - you might be interested then in this socket for SBT10 here 
2015 m. kovo 14 d., šeštadienis