If you need a complete kit assembled or unassembled, or just a PCB, a partial kit or even just some component, please feel free to contact me at the e-mail address below.
Also I have in stock following geiger-muller tubes:
SBM-20 (beta and gamma)
SBM-20U (beta and gamma)
STS-5 (beta and gamma)
SBM-21 (beta and gamma)
SI22G (gamma)
SBT-9 (alpha beta and gamma)
SI-29BG (beta and gamma)
SI19BG (alpha beta and gamma)
Beta-2 (alpha beta and gamma)
Beta-1-1 (alpha beta and gamma)
SBT10 (alpha beta and gamma) SBT10A (alpha beta and gamma)
SBT-13 (alpha beta and gamma)
SBT10A (alpha beta and gamma) SI8B (alpha beta and gamma)
Please check THIS eBay LINK or contact me directly by e-mail :
---
Best if you write to me in English,
but you are also welcome to write to me in Russian, Polish, German, Italian or French.
Nic Wilson from Brisbane, Australia has bought quite a few of my Geiger counter boards over the years. He has also put a lot of work into the open-source GeigerKit firmware and agreed to share his branch here, together with a set of documentation he wrote for it. Thank you, Nic!
Version numbers in this firmware (11.0.5 up to 11.1.13) are Nic's branch versioning. They continue from the 11.0.x numbering of the original GeigerKit sketch (bHogan / DIY Geiger Counter) and my SMD adaptation (v11.0.2), but they are not official upstream releases and are not tracked in my repository. If you report an issue, please say "Nic's branch 11.1.x".
Release status
11.1.5 is the last fully documented, hardware-tested baseline (button menu, tube selection and startup changes tested on two boards). 11.1.13 is the current build. It adds selectable IR remote profiles and is marked by Nic as a test build until remote operation and EEPROM persistence are confirmed on hardware.
What Nic changed
Full settings menu without a remote
Nic's favourite feature. Hold MODE and TONE/ZERO together for about one second to enter the settings menu, then release both buttons. The IR remote still works, but is no longer required.
In the menu
Action
MODE short
Save and go to next item
MODE double
Save and go to previous item
TONE/ZERO short
Increase / change value
TONE/ZERO double
Decrease / change value
MODE long
Save and exit
Pulse counting continues while the menu is open.
Tube type selection
New TUBE TYPE menu item with three presets. The choice is saved in EEPROM, shown at startup, and automatically writes the matching ratio to both primary and secondary RATIO values. Manual RATIO adjustment is still available.
Tube
Preset
SBT-11A
318 CPM per µSv/h
SBM-20
220 CPM per µSv/h
SI29BG
100 CPM per µSv/h (project preset)
Faster startup
Startup now shows only "GEIGER by Nic", the selected tube and the firmware version for about 1.5 seconds, then goes straight to the live CPM/dose display. The ratio/voltage splash, alarm prompt and other startup pages were removed, as these settings are now in the menu.
Diagnostics mode
Long-press MODE during normal operation to open six diagnostic pages; MODE short goes forward, TONE/ZERO short goes back, MODE long exits. Pulses keep counting in the background, and timers restart cleanly on exit.
Page
Shows
1
Firmware version and hardware ID (SMD v2.0.1)
2
Active calibration ratio and dose unit
3
Pulses since entry and supply voltage
4
Current / minimum free SRAM and uptime
5
Reset cause (POR, EXT, BOR, WDT) and CPU clock
6
EEPROM map identifier and build date
IR remote profiles (11.1.13, test build)
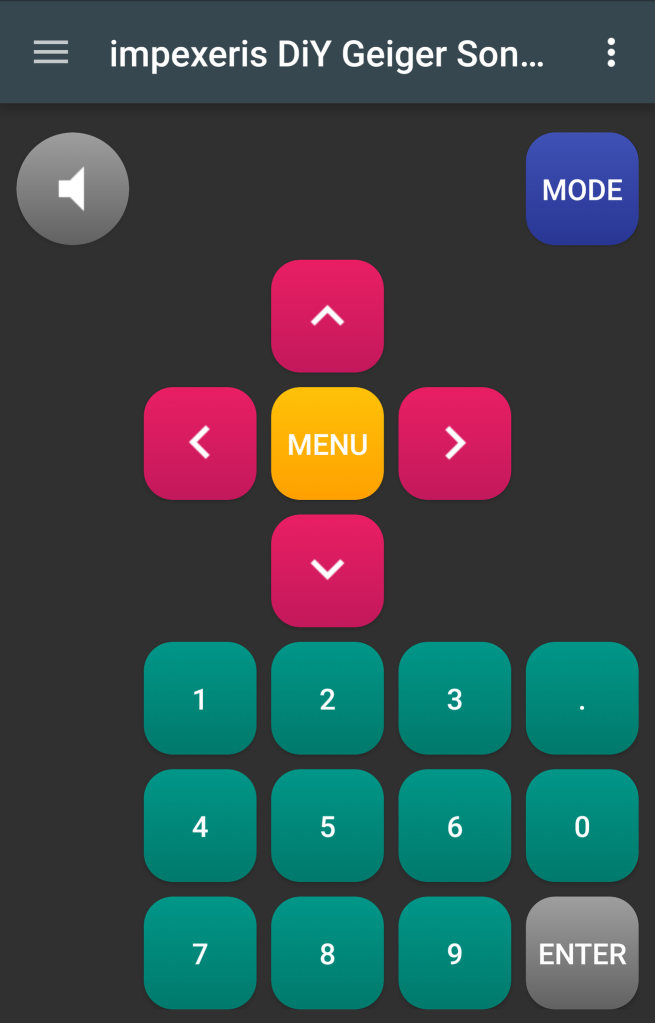
New REMOTE TYPE menu item, saved in EEPROM: NEC ORIGINAL (the original 21-key remote), NEC LED (a common RGB LED-strip remote) and SONY (Sony SIRC TV remote). An IR TEST page shows raw received codes and can decode NEC, Sony and Philips RC5, which helps when trying an unknown remote. RC5 is diagnostic-only for now.
Reliability and code fixes
Atomic access to the 32-bit pulse counters, so the 8-bit AVR cannot read a half-updated value.
Bargraph, version-text, tone arithmetic and analog-meter signedness fixes.
SBT-11A calibration audit and flash-string cleanup.
Changing display mode now also applies the matching ratio (previously done by hand).
INFINITY renamed to INFINITYVAL to avoid a clash with Arduino.h.
Measurement maths and the existing EEPROM layout are preserved; no migration is needed.
Full change list
Version
Change
11.0.5
Ratio follows display mode; INFINITY renamed
11.0.6
Frozen working baseline
11.0.7 b1–b6
Atomic counters, bargraph/version fixes, flash strings, tone fix, meter signedness, SBT-11A audit
11.1.0 a1
Hidden diagnostics mode on the 16×2 LCD (hardware tested)
11.1.0 a2
SRAM tracking, CPU frequency and build info (hardware tested)
This firmware is shared as-is by Nic for the community. A Geiger counter built from this kit is an educational instrument, not a certified dosimeter. The high-voltage section carries several hundred volts — disconnect power before working on the board.
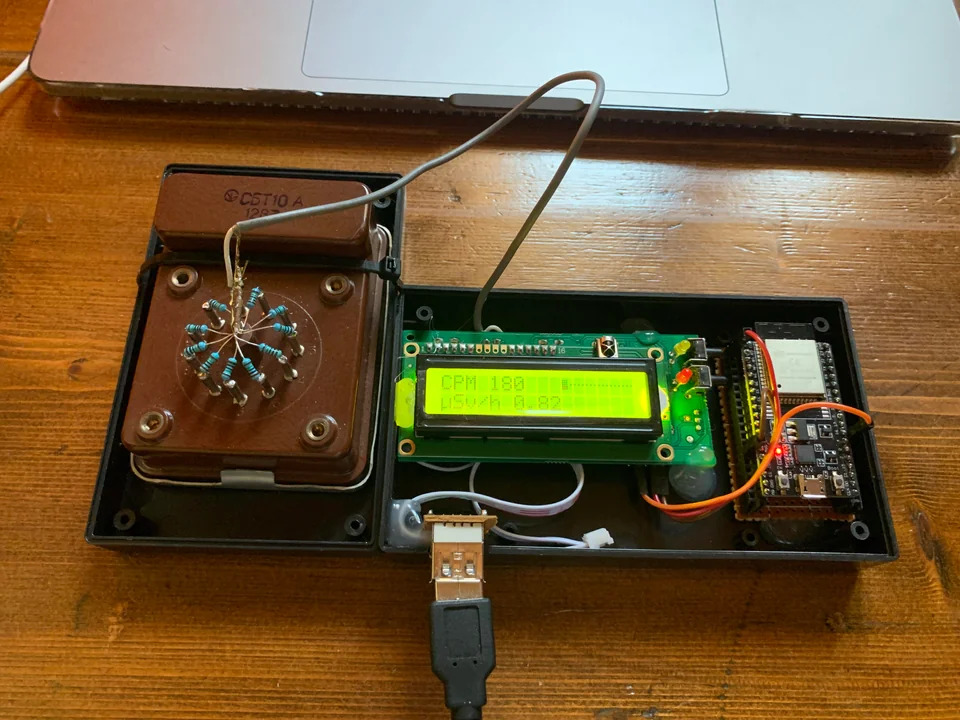
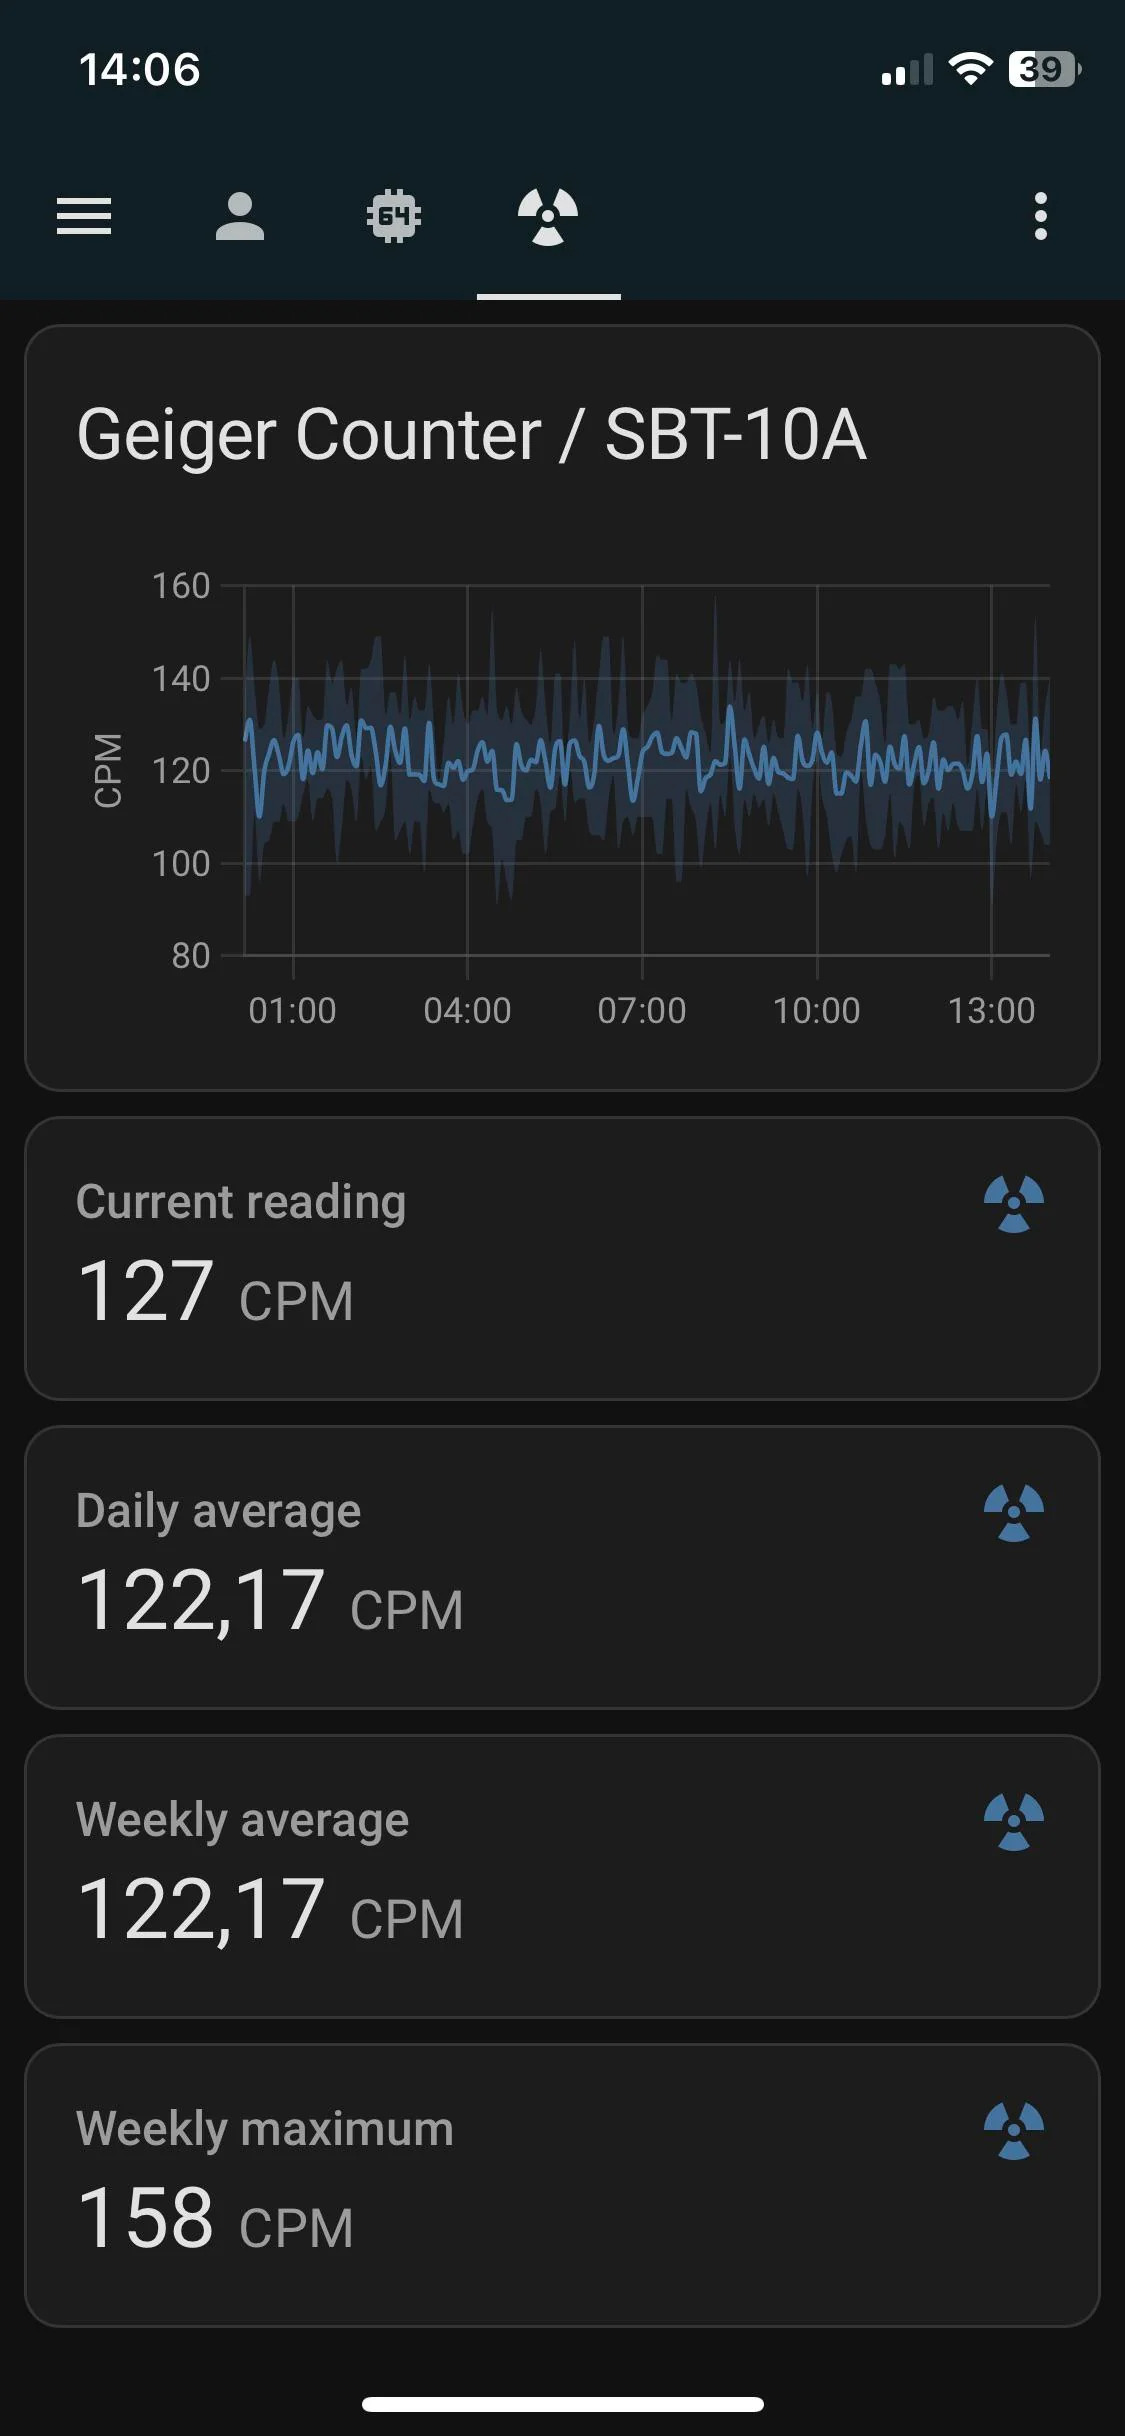
It uses the serial interface to read the CPM value, convert it to an integrer and expose it as a sesnor that can then be integrated into Home Assistant.
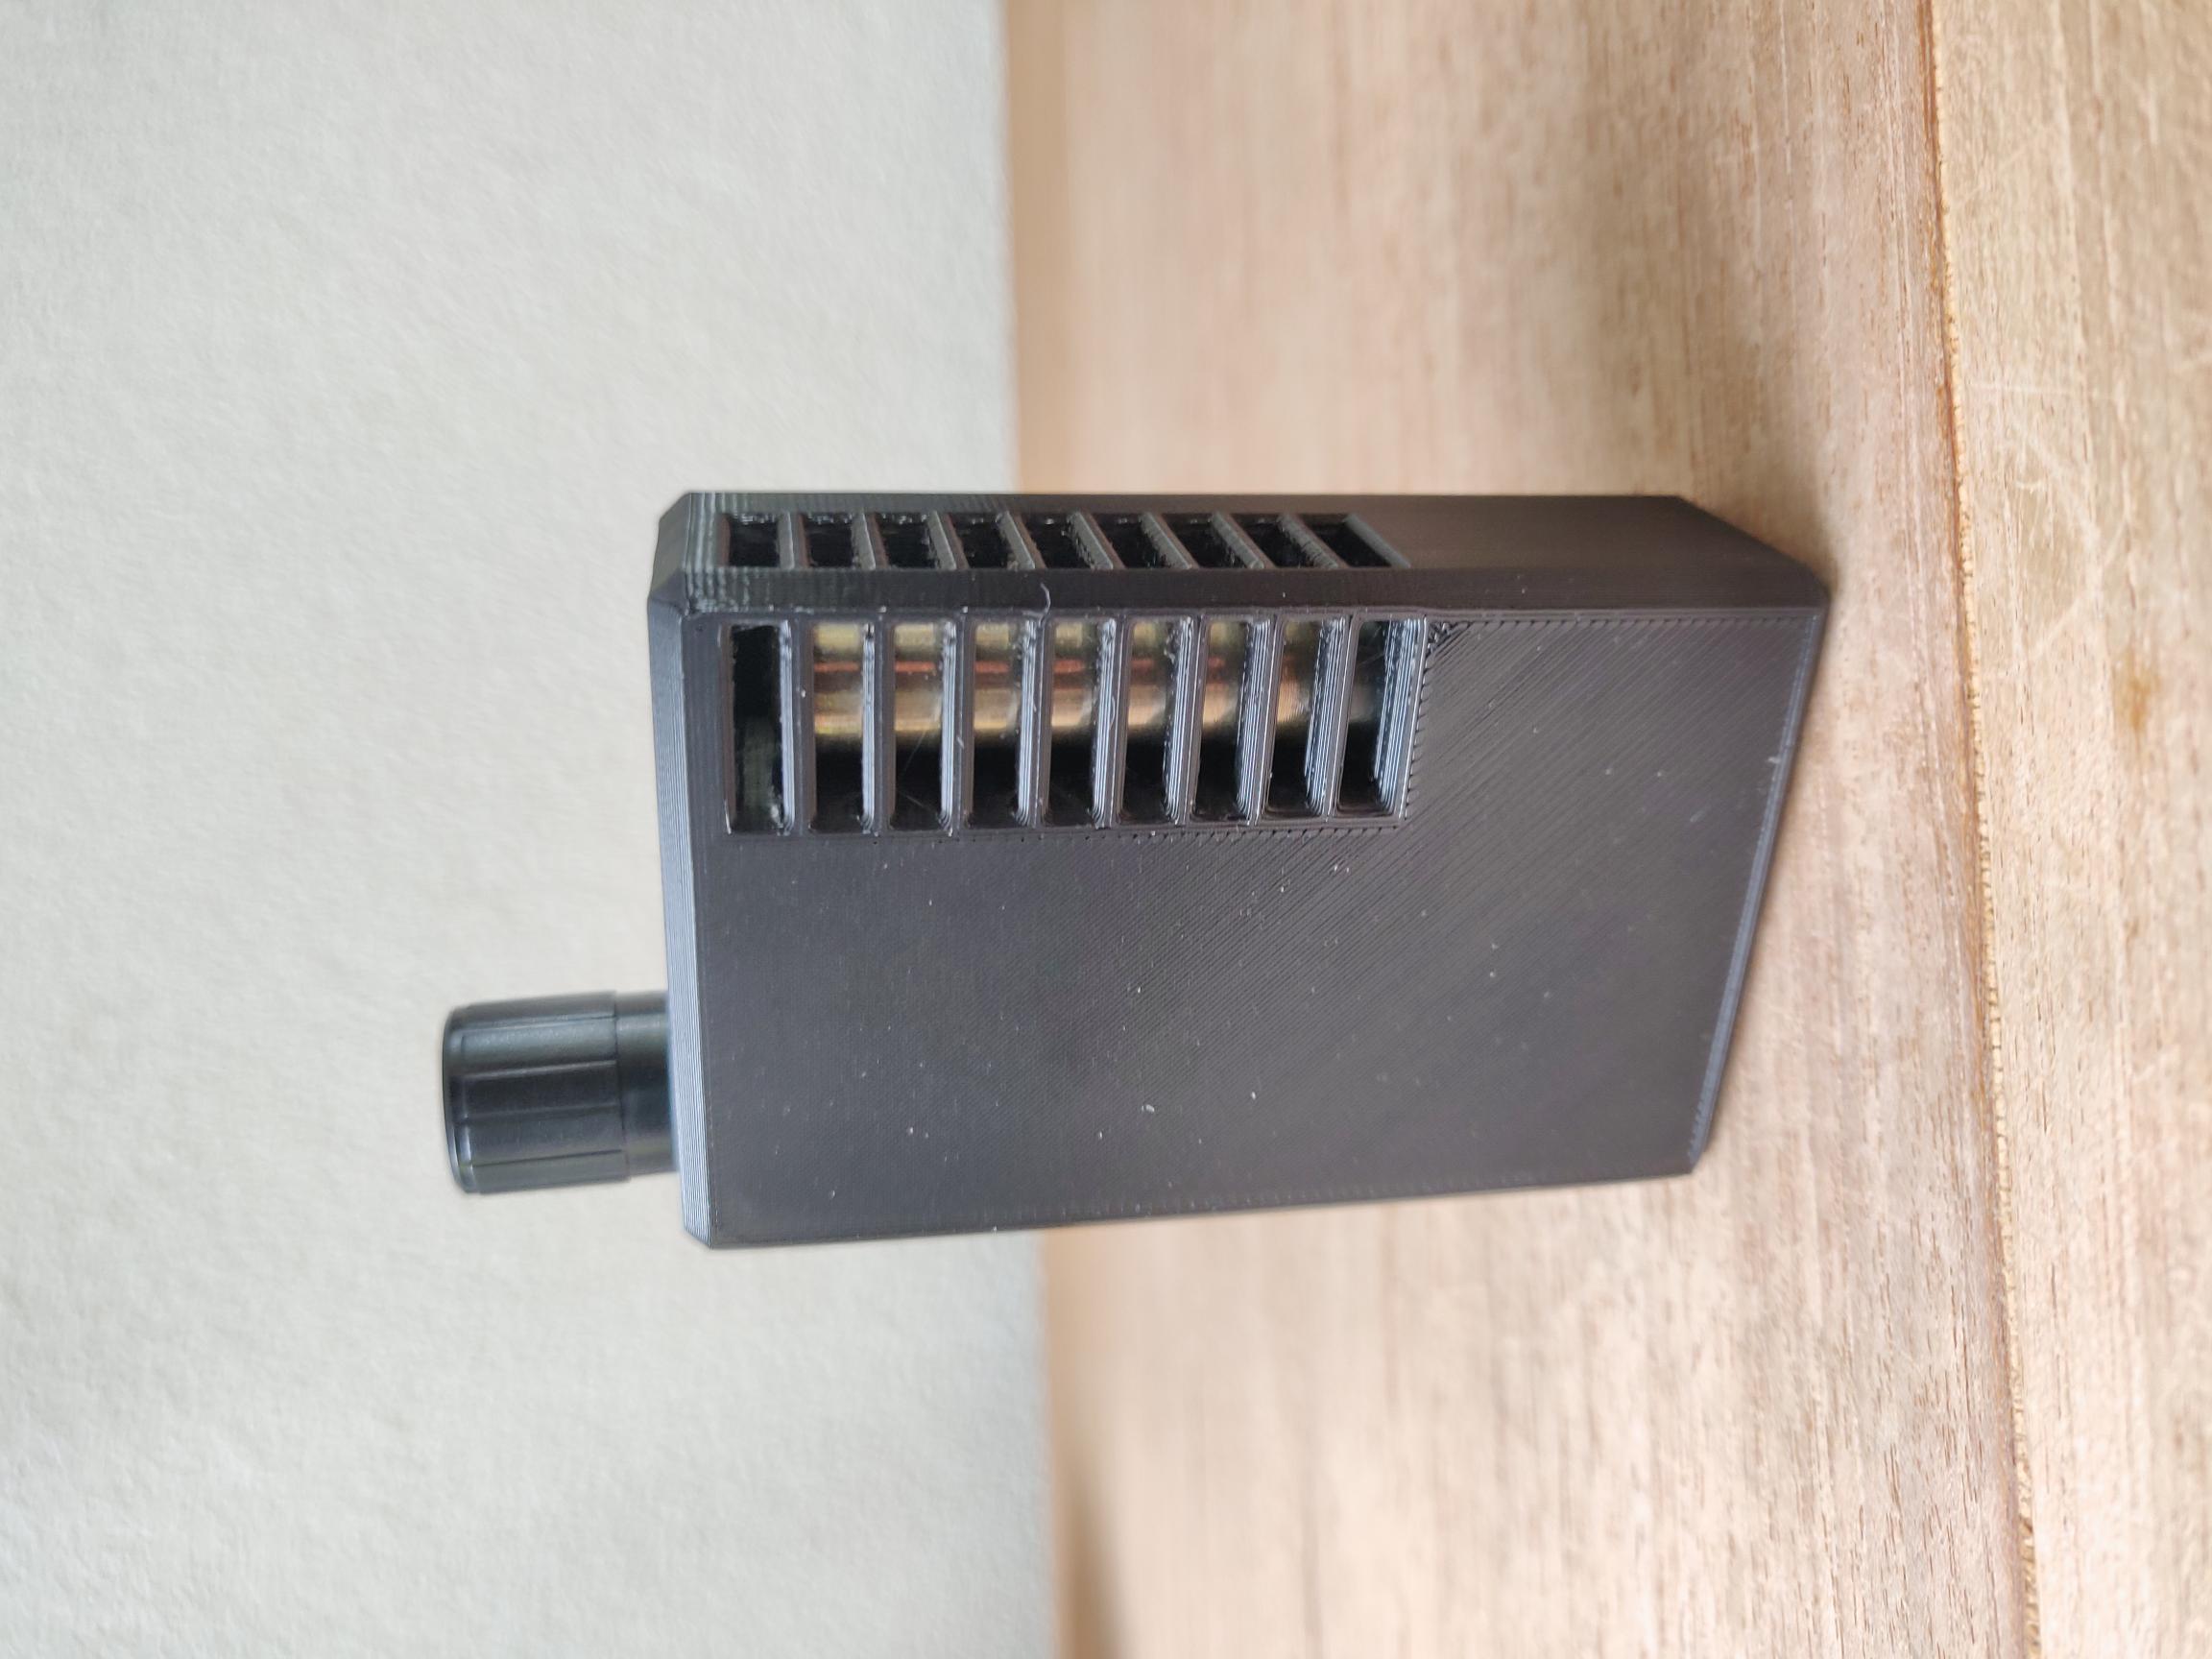
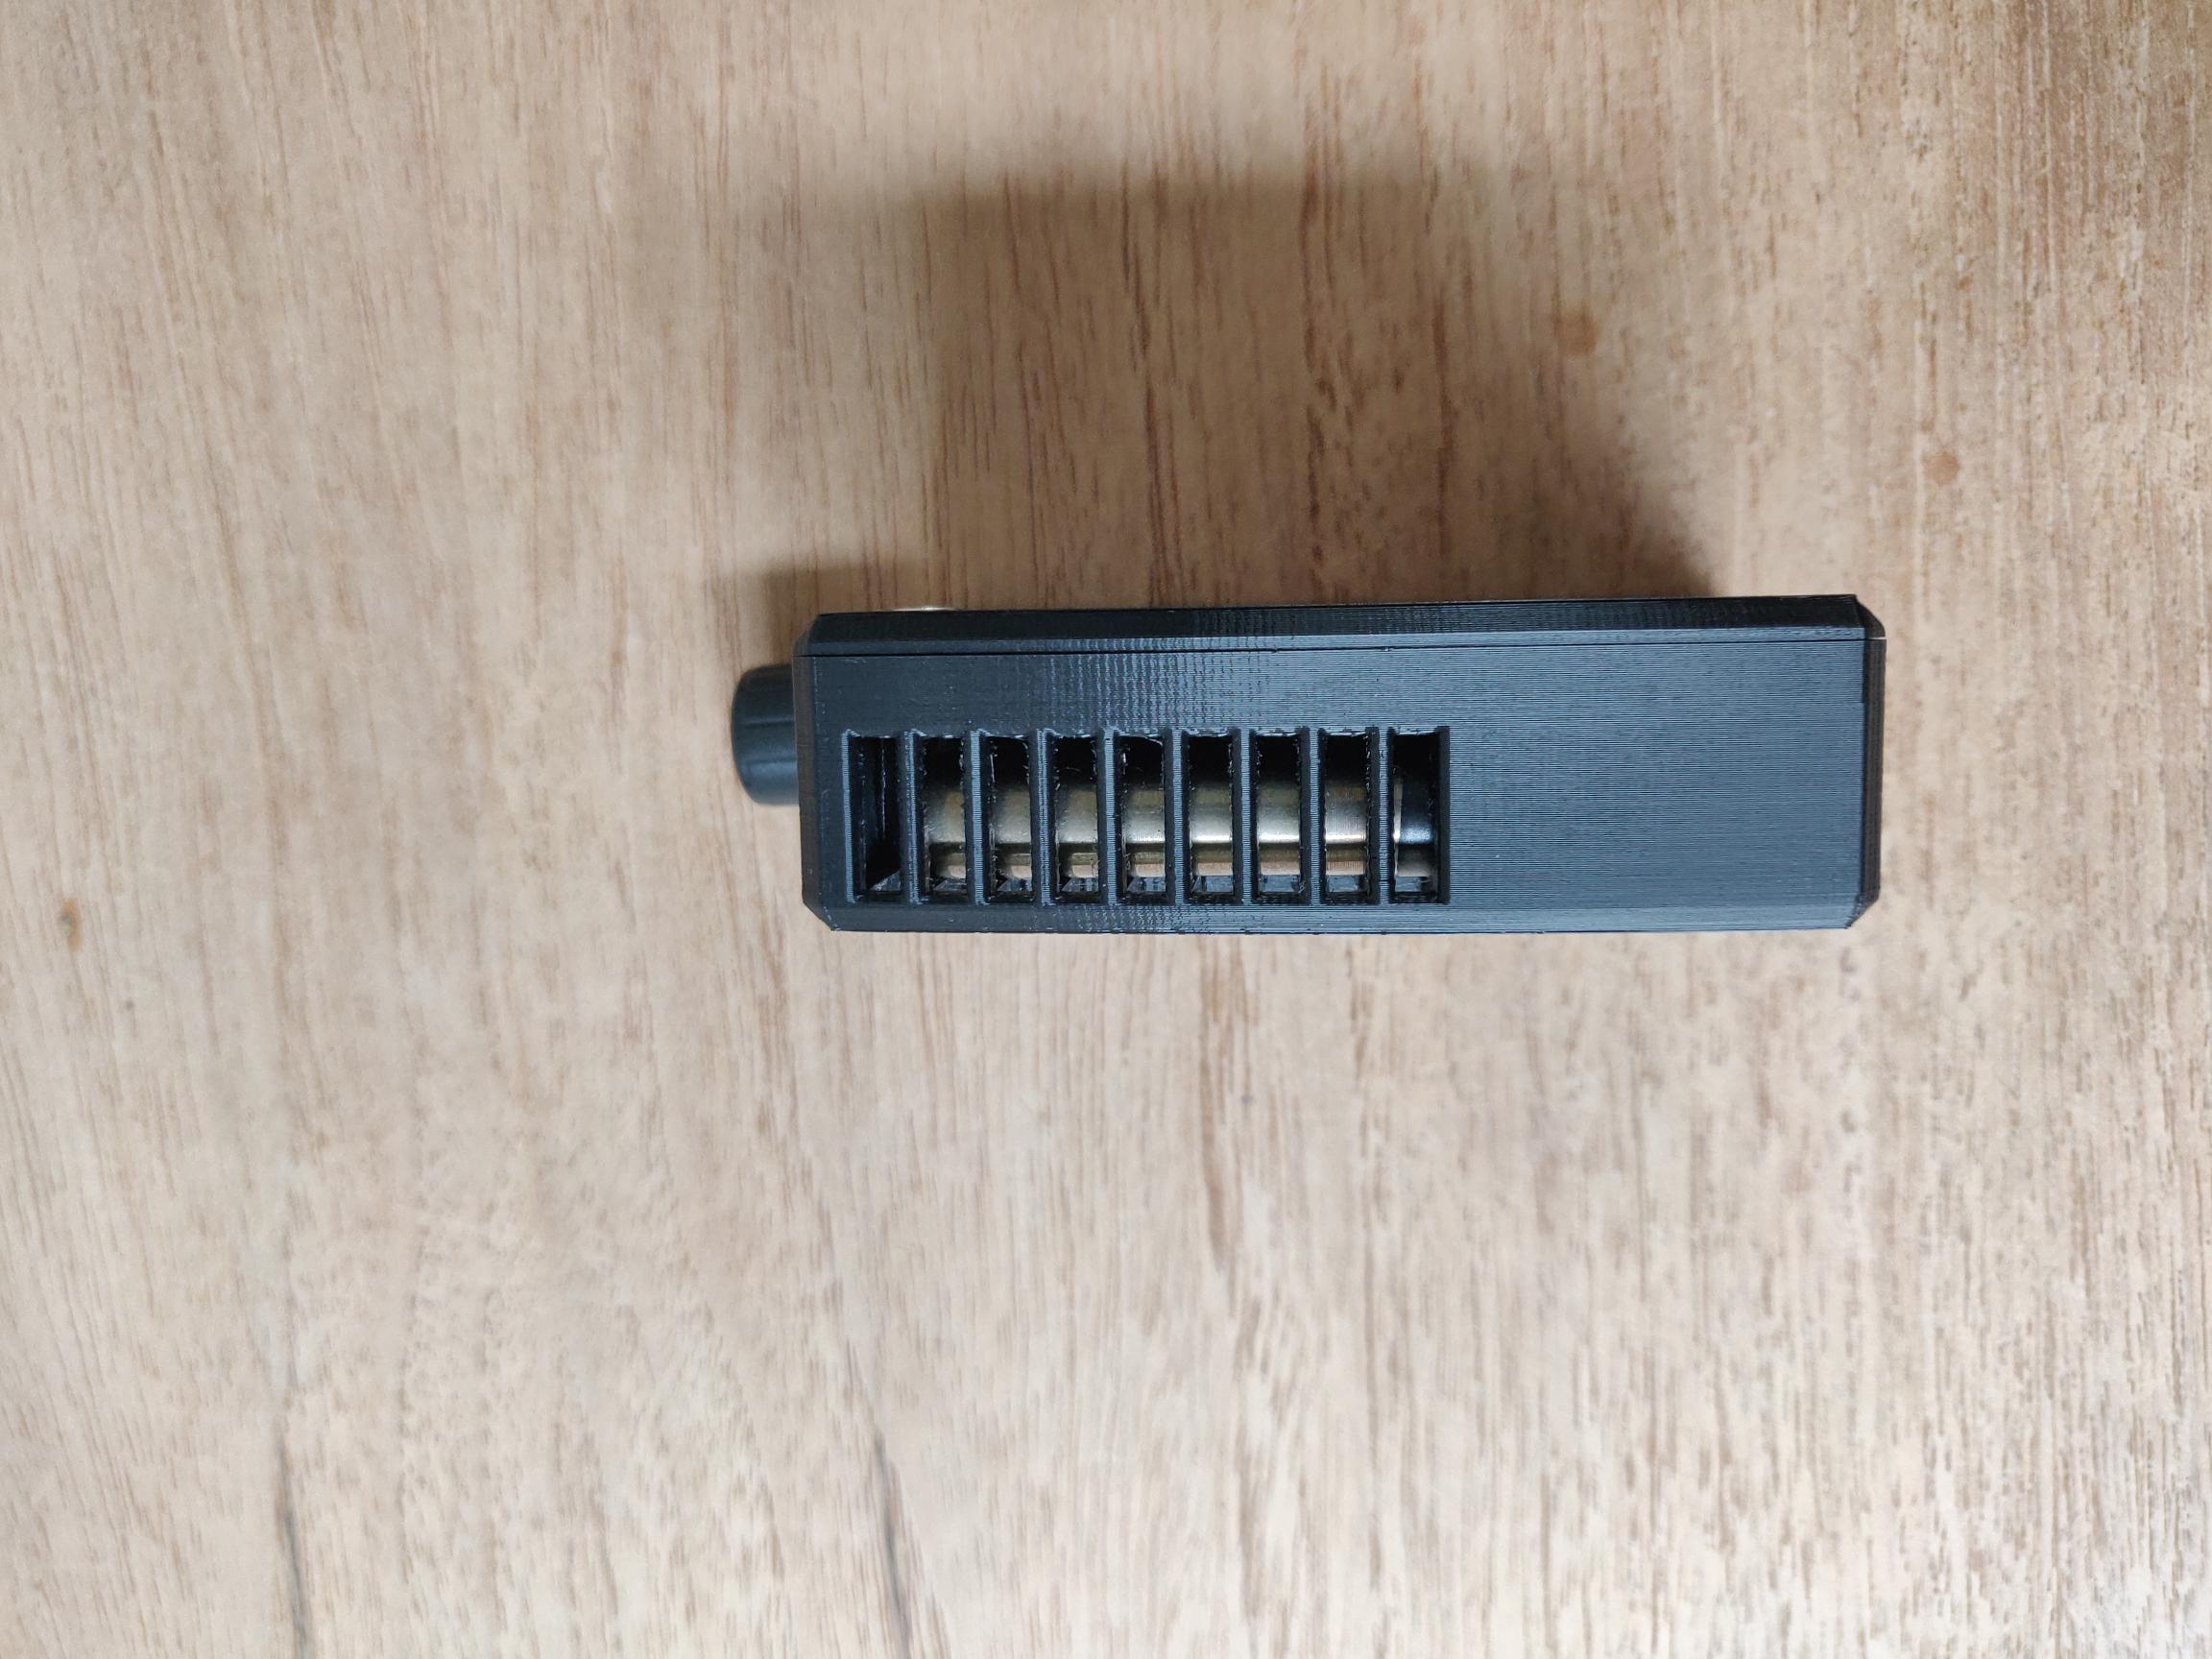
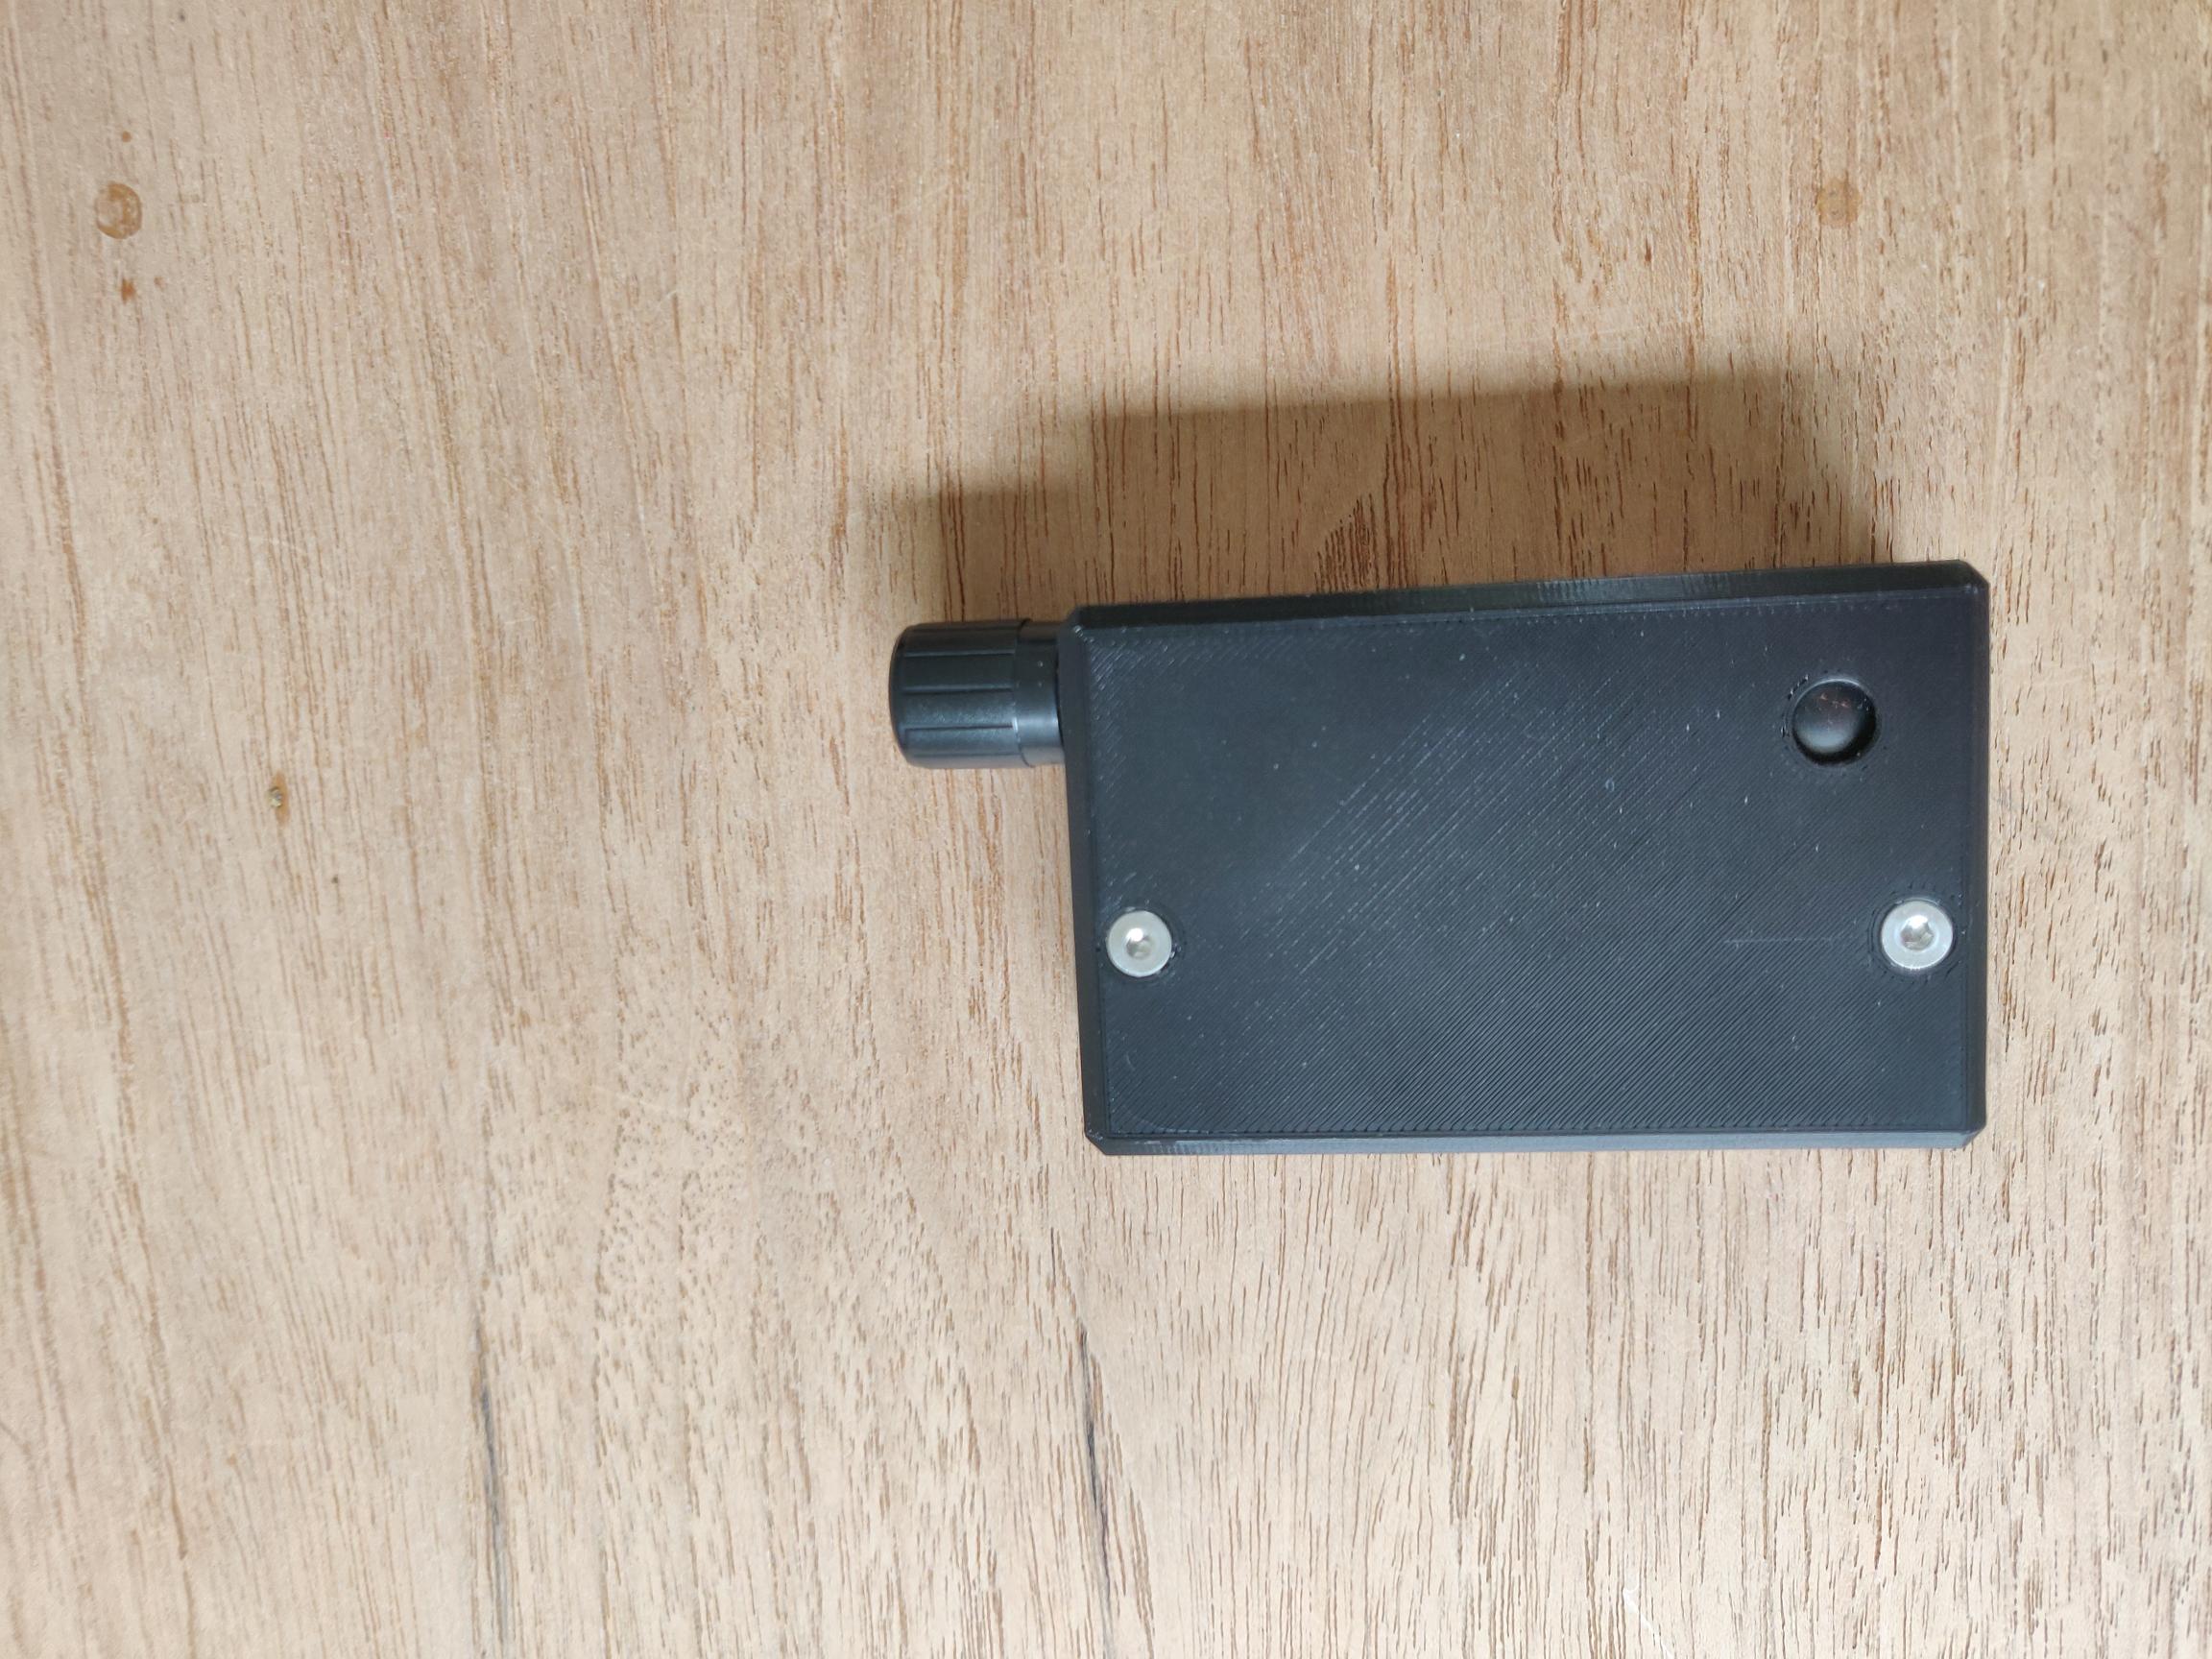
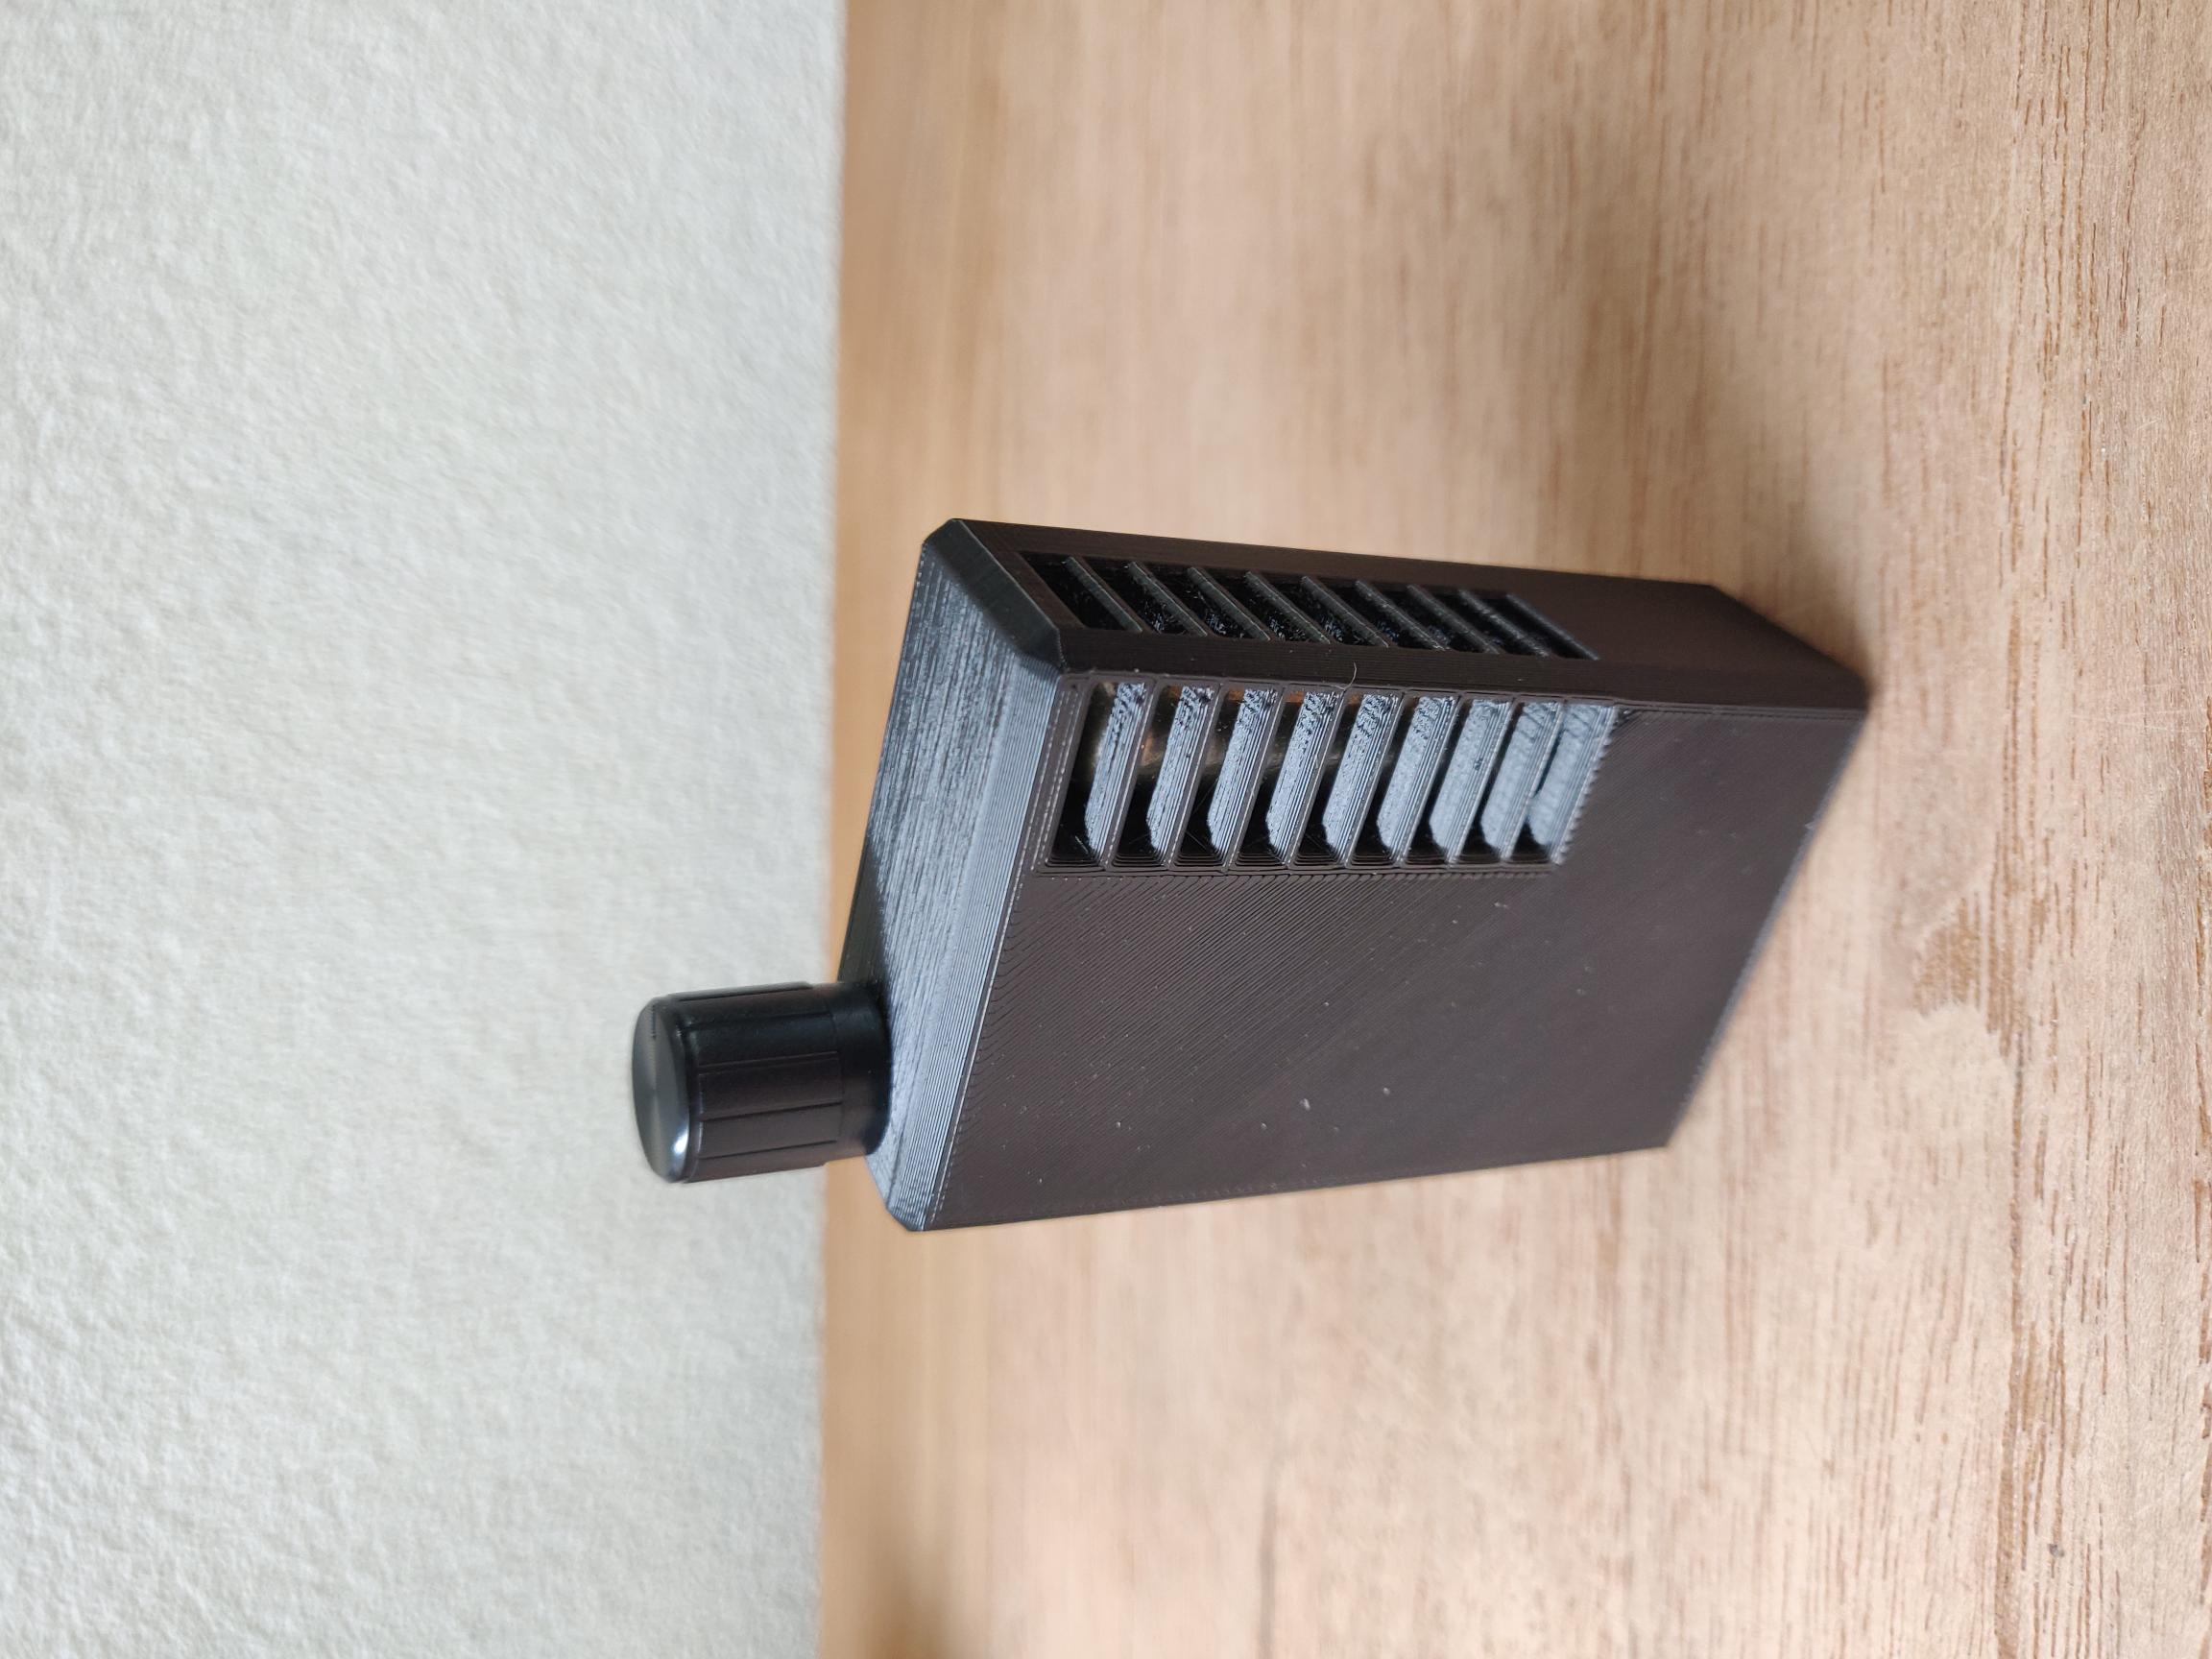
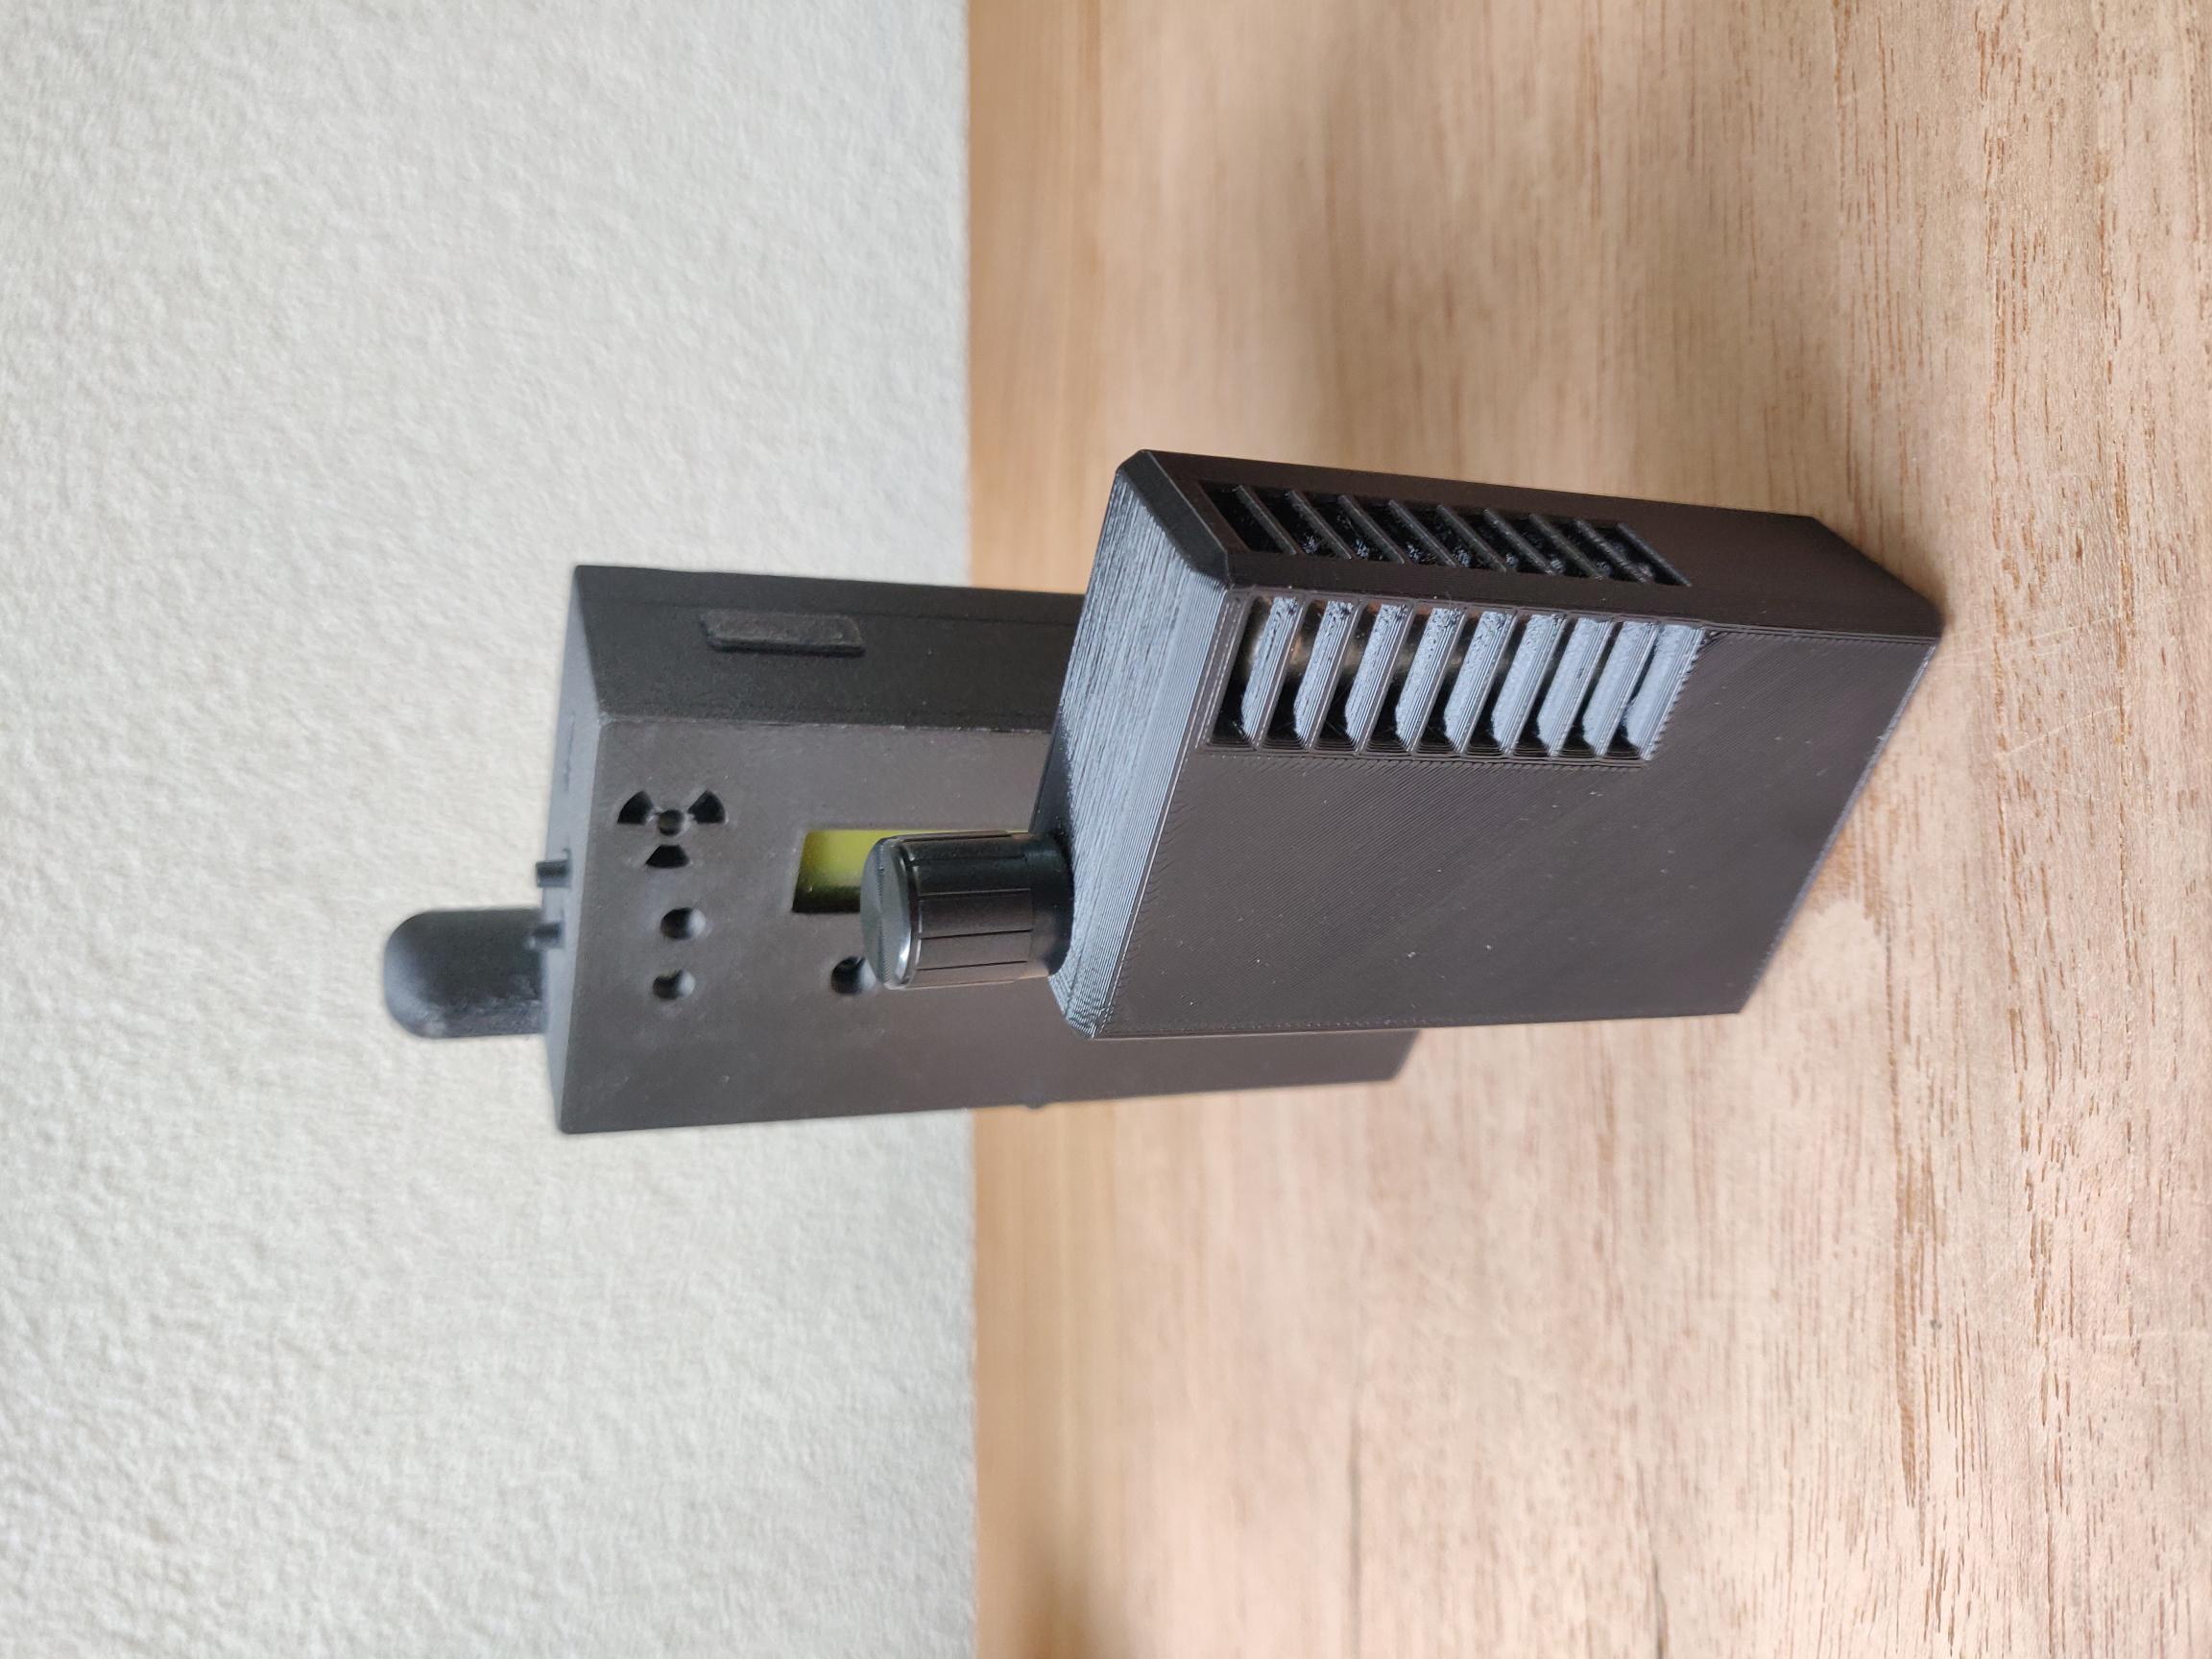
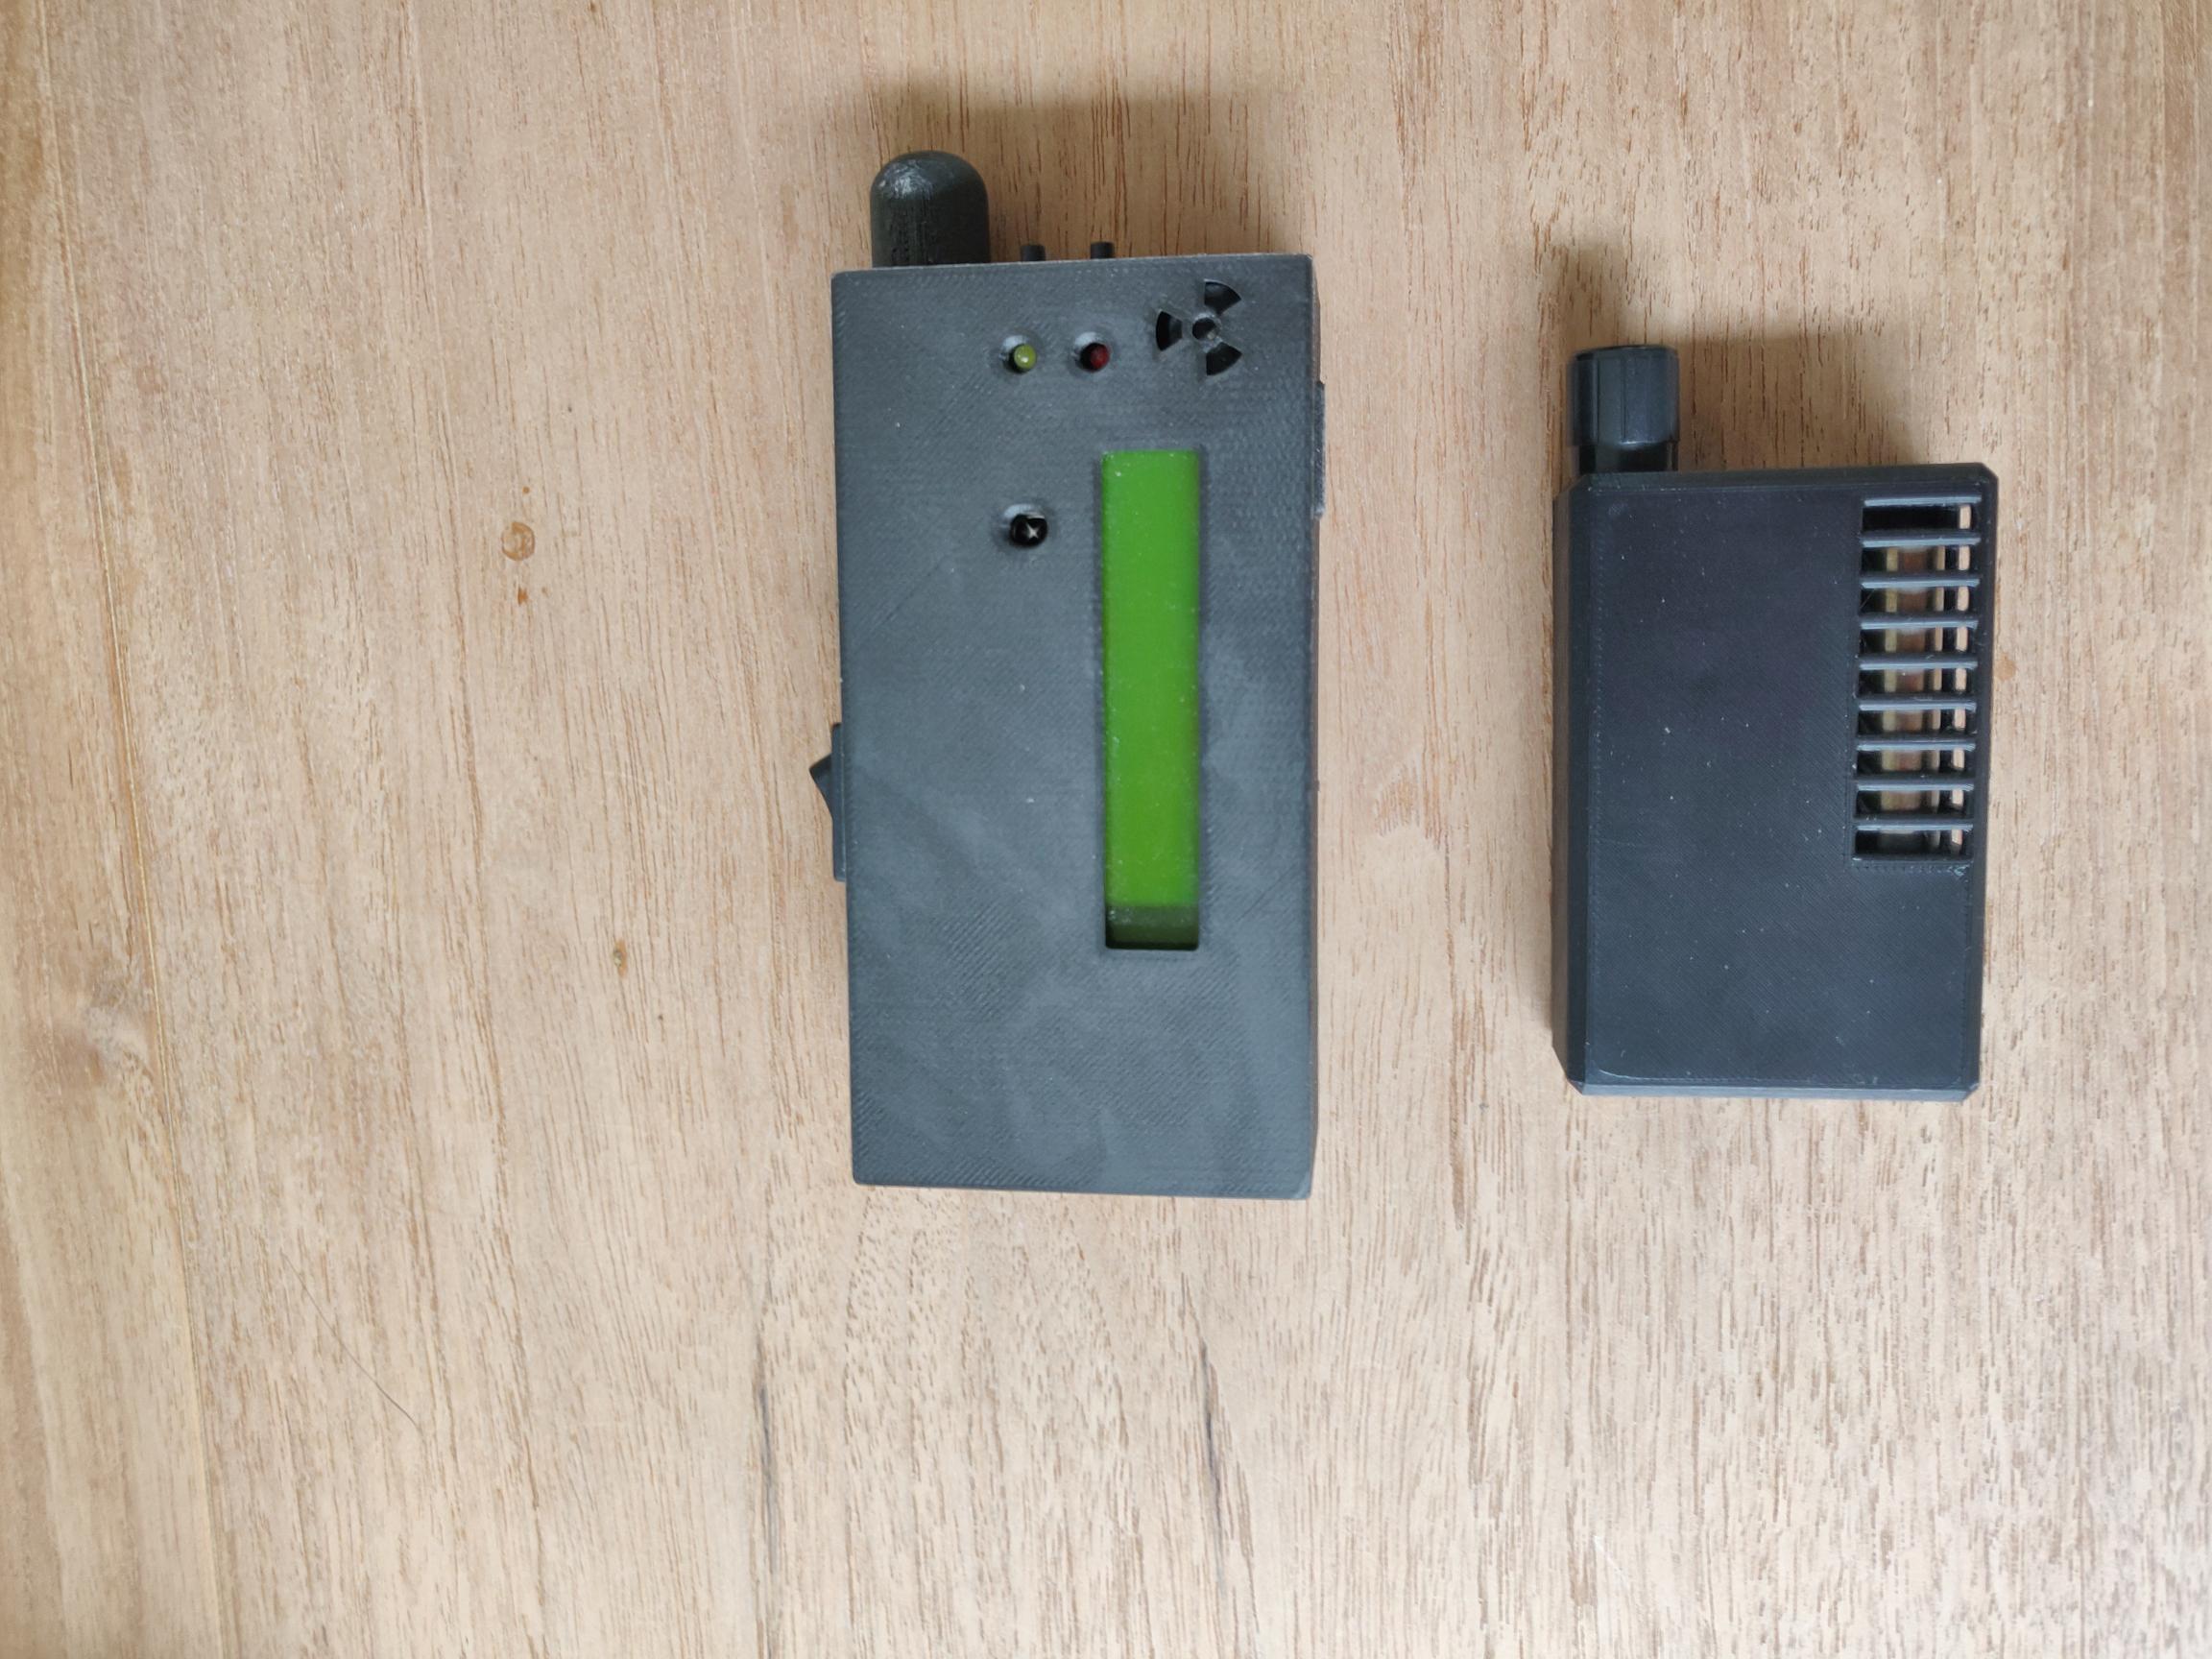
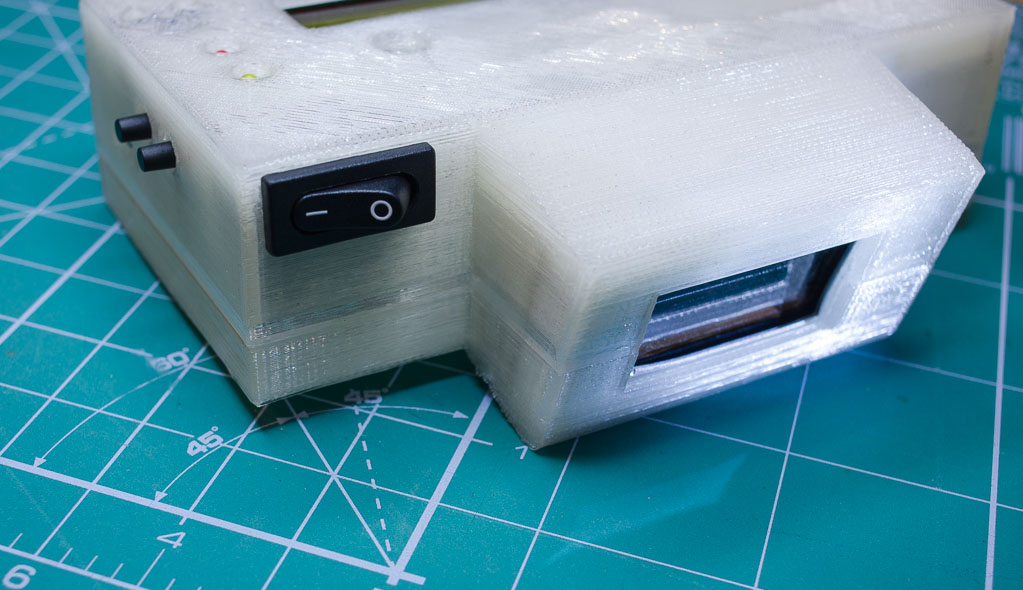
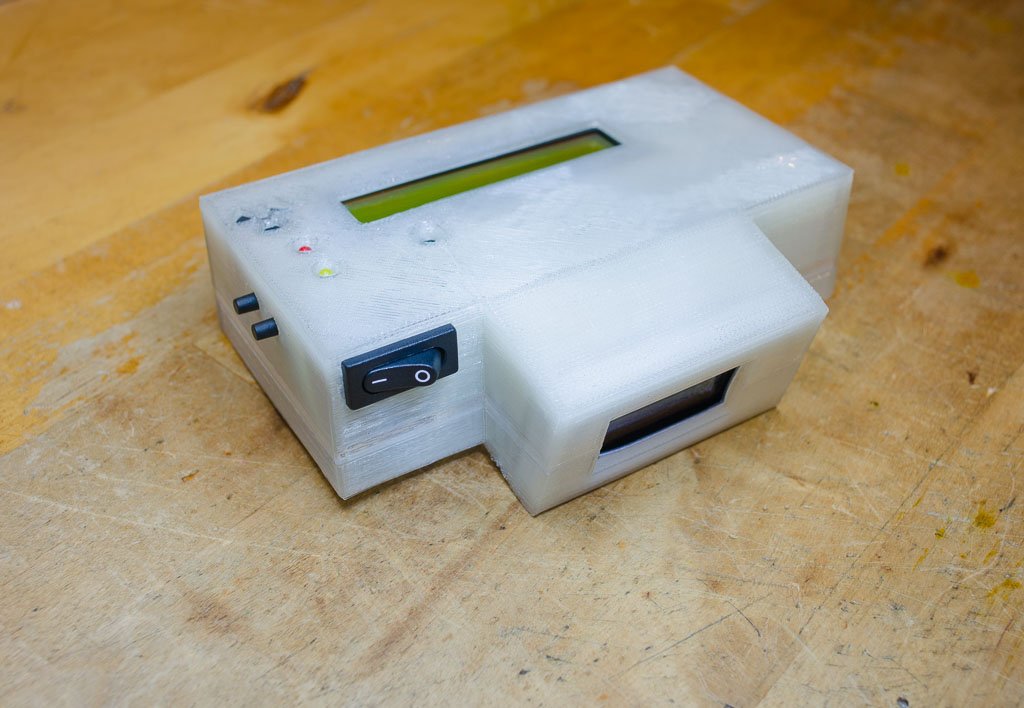
Dion has gracefully provided these nice pictures of the enclosure. It is HV module based clicker circuit and si-29bg tube. On the top you can see the potentiometer knob which is used to switch the device on and to regulate the volume of clicks. Dion says he used a generic PAM8403 pcb from aliexpress.com and a speaker.
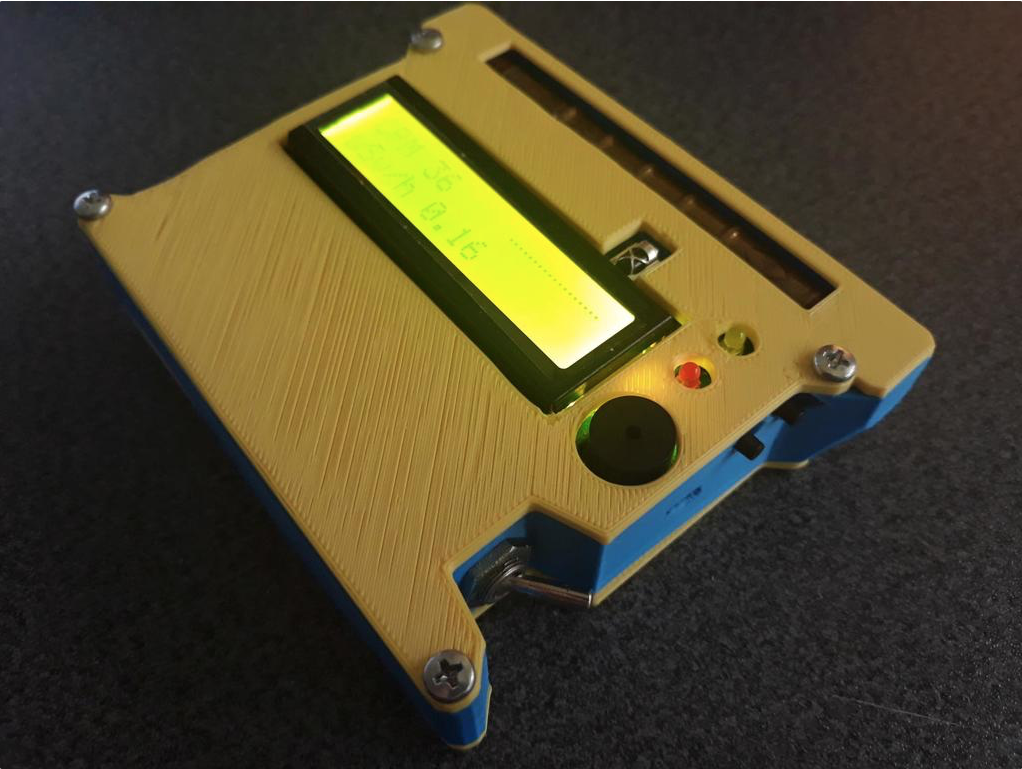
To compare the size to the stock 3D printed enclosure:
I have some spare pieces so if you need one please secure it until the stock lasts as I am not planning to get more. You can click-purchase (9,99 EUR + 4 EUR shipping) here :
Here for your viewing pleasure is a nice "post-apocalyptic" decal for a factory-made-ABS-enclosure by courtesy of Marc from Canada.
By the kind permission of Marc, "...I've also attached the JPG of the decal if someone should want to use it. I simply printed to glossy sticker paper to print it and cut it out with a blade. ..."
decal artwork for your own use can be downloaded here
If you need the enclosure you can get it through this post here
Now instead only an opening for SI-8B (СИ-8Б) tube and the internal mounting bracket there is an external frame, which holds the protective net and accepts the original beta shield of the SI-8B tube.
Here below are links to the variation of the v.11.0.2 software which in addition provides 20μS pulses on the Arduino D19 pin (better known as A5 or SCL) when the detector event is obtained by the micro-controller's interrupt pin from the detector (for forwarding to other micro-controller electronics )
This is not a new version but rather a sideways customisation requested by a user, who wanted to connect Raspbery Pi to the geiger counter to use geiger data for random number generation. Here are a few videos. The first one below is visually explaining the added function. Here the pulse width was intentionally made 10mS wide so that LED flashes are visible (note! in the software linked below the pulse is nearly 500 times shorter so if LED is connected flashes will not be visible)
(here where the resistor is connected is the ground pin, and the other is the signal pin)
(some LED flashes can be missed because of non-synch with the smartphone camera while filming)
in this next video, there is an oscilloscope screen showing the actual output pulse
(for those who use other development environments or want to upload with the XLoader, utility here is a compiled hex file with preset for the NEC iR remote protocol
note 2: the pulse can occasionally get a longer (i.e.35μS) if detector signal interrupt coincides with the generation of the pulse (as latter is short and generated by simple bit-bang process). This is still reasonably short as original pulses from detector are from 100 to 190μS wide due to properties of Geiger-Müllert tubes themselves. With such assumption and for convenience reason (so that existing header is used - such simple pulse generation technique was preferred to the more exact one)
note 3: due to short pulse time it is recommended to make connections using a shielded cable.
For example the microphone cable by running signal through the internal thread and connecting grounds through the shield.
Here is a French translation of the smd geiger firmware v11.0.2 features description kindly presented by Rémy Rubin from Moutier in Switzerland (Thank you Rémy!):
Daniel managed to fit everything - electronics, SBT11 pancake tube and even 9V battery in to this small - only 12 cm long enclosure! Wonder how it looks like inside. Thank you for sharing the pictures Daniel!
Oleg from Russia, has used the enclosure of the old (hand-dinamo powered) geiger detector DP-62 to build this exquisite almost hermetically sealed and solar rechargable dosimeter/radiometer.
Here are his photos for your enjoyment and stimulation of fantasy, as well as a short Oleg's description in Russian below the pictures:
Здравствуйте!
Наконец, мой проект закончен!
Благодаря Вам теперь у меня есть нормальный дозиметр в, пусть старом, но
добротном и герметичном армейском корпусе ДП-62, теперь не боязно по нашим горам гулять.
Ну хочется похвастаться.
Перепаял все кнопки(вынес наружу), (https://ru.aliexpress.com/item/1PC-Metal-Button-Switch-panel-hole-10MM-2A-36VDC-self-locking-3pin-soldering-IP65/32795709708.html )
Задействовал штатные окошки для самой трубки(закрыто слюдой для бэтты).
Перенёс светодиоды под штатные глазки(под линзой в центре- индикация пролёта гамма-кванта, красный глазок- аларм).
Там же под линзой рядом с жёлтым светодиодом и ИК-диод для настроек с пульта Сони.
Панель и кнопки посажены на полиуретановый шовный клей-герметик JetaPro5593.
В пути :
Винт Адаптер Женский 1/4 мужчинами 3/8 для Штатив Монопод
https://ru.aliexpress.com/item/Hot-Convert-Screw-Adapter-Camera-Accessories-of-Female-1-4-to-Male-3-8-for-Tripod/32704353332.html?aff_platform=link-c-tool&cpt=1500412967313&sk=uR7uBY3Rz&aff_trace_key=4e6ffd3a647d4926bc57716372834919-1500412967313-05481-uR7uBY3Rz
Так как сам монопод для использования в режиме поиска на штанге (
https://ru.aliexpress.com/item/Telescoping-Extendable-Stainless-Steel-Monopod-Pole-Handheld-Hold-Grip-Tripod-Mount-Selfie-Stick-for-GoPro/32727991816.html?aff_platform=aaf&cpt=1500413081666&sk=zj6qB6AIM&aff_trace_key=cbc06ab40ea1475ca3d0e02d1d71f275-1500413081666-05625-zj6qB6AIM )
(как ДП-5) уже пришёл
Ну, а Вам, просто спасибо! Я теперь готов к "зомби-апокалипсису" :)
Original contact sockets for Si8b (Си-8б) Geiger-Müller tubes are rather rear and quite expensive.
So here is the 3D printable one. Printed with PLA filament on a 3D printer and equipped with factory made contacts. It has an in-printed marks of Anode (+) and Cathode (-) for easy connection
If you like/need one you can buy it instantly by clicking on this PayPal "Buy Now" button.
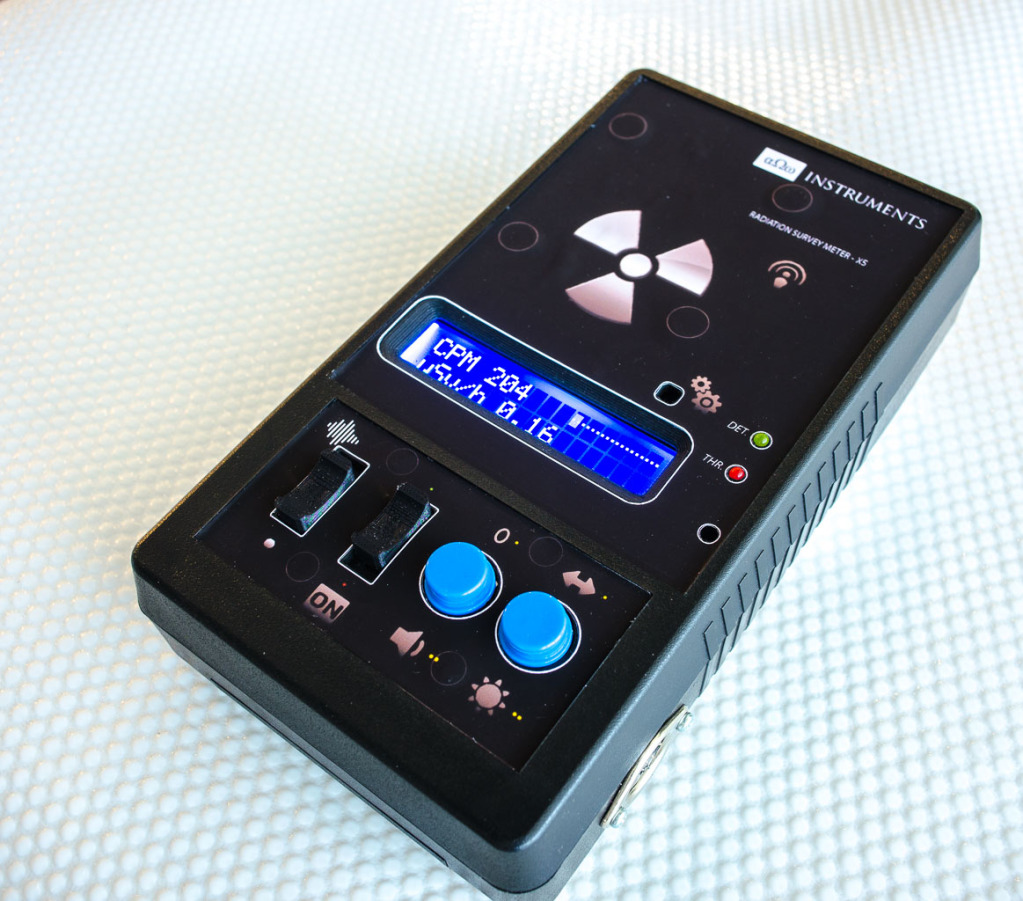
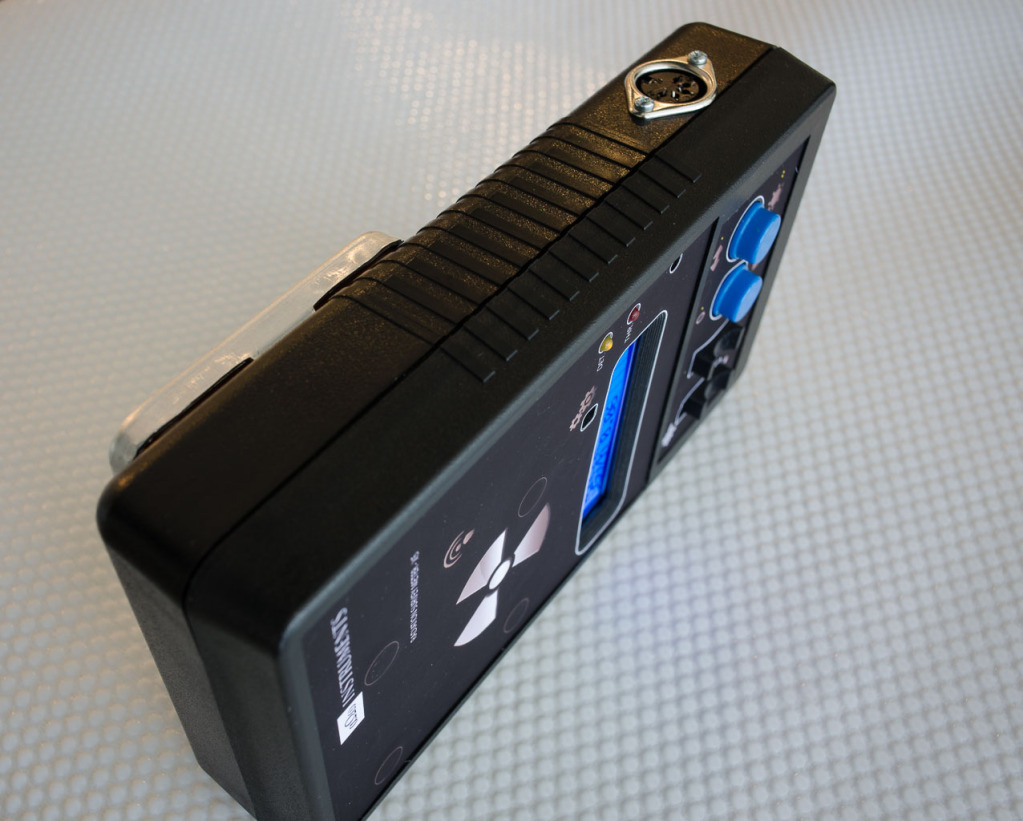
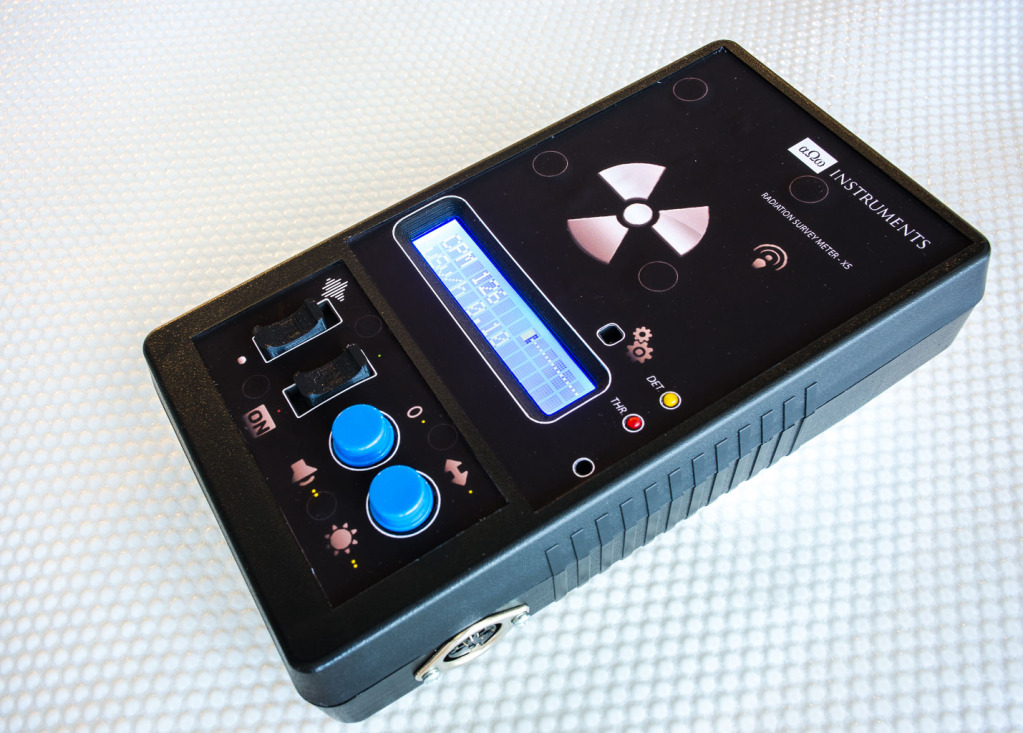
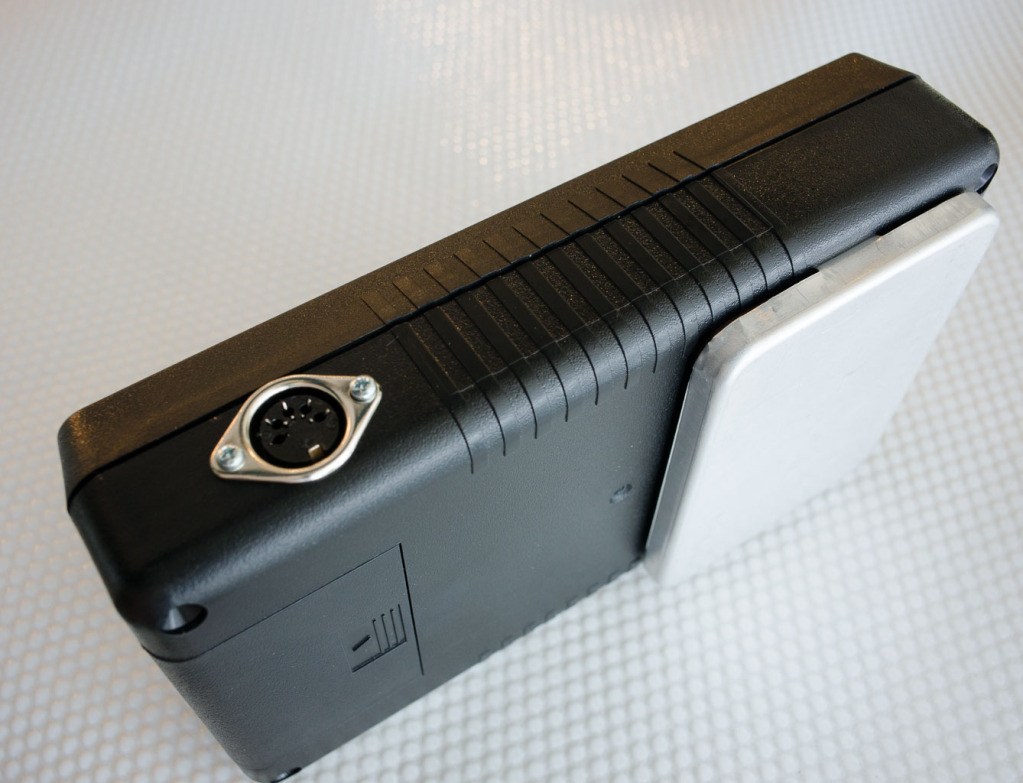
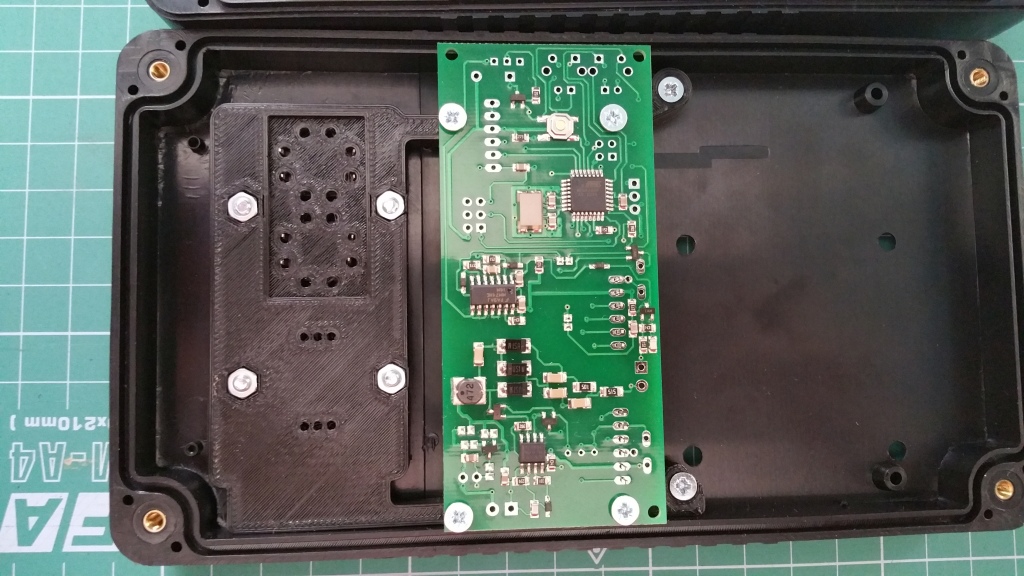
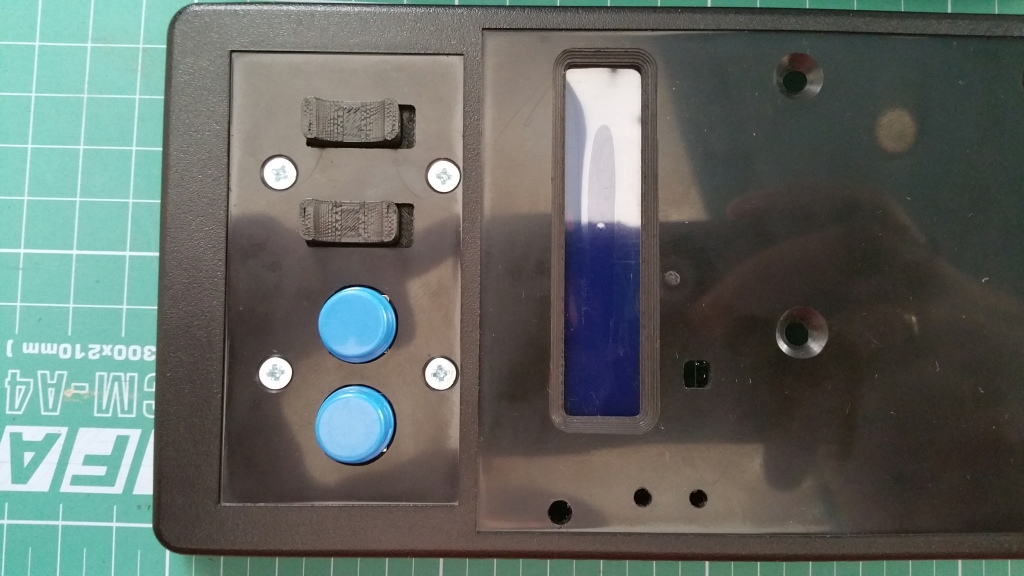
1 x factory made enclosure ( available in black or light grey color ) with precisely cut openings for the tube and interface elements
1 x printable vinyl sticker with artwork
2 x microswitches with 3D printed caps
2 x big push-button switches with blue caps
1 x 5 pin socket
1 x 5 pin plug
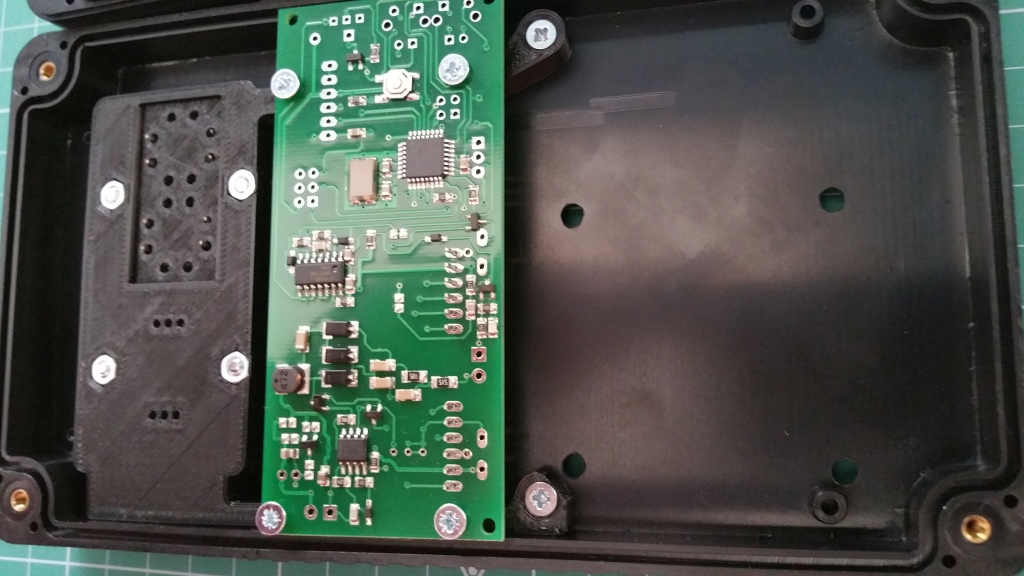
3D-printed microswitch and push-buttons holder plate
4 x screws for mounting SBT10 tube
4x screws for 3D printed switch holder plate
3D-printed plastic frame for easy mounting of the counter inside the enclosure.
---
If you need the enclosure kit (unassembled and without the electronics) -
Just the enclosure with precise cut-outs, vinyl stickers with artwork, three tumbler switches, one push-button switch, socket and plug connector and internal mounting brackets for the electronics and the tube (tube mounting brackets are only for SBT11 tube kit. Mounting SBT10 and SBT8 tubes don't require such brackets)
Here below in a video - how the SBT10 tube is installed in this enclosure. Also my advise how to use the aluminium cover if you will be removing it often.