2017 m. kovo 15 d., trečiadienis

Conversion rates for Soviet made Geiger-Müller tubes

There is a compilation of the experimental CPM to uSv conversion factors for Geiger-Müller tubes manufactured at Soviet times. Experimental measurements are done for the natural mix of energies relative to same measurement condition readings of  Cs137 calibrated equipment.
Though every tube might have some deviation from such readings most tube's readings give a quite similar results. These numbers do quite well for popular measurements - usually within 1uSv range.
(please kindly comment if you have different data or can challenge the data below in some way as it might help to improve this reference table). As time allows I will be maintaining and adding the data for other tubes.


SBM-20         - conversion factor 220 CPM -> 1uSv/h (working voltage- 400V)
SBM-21         - conversion factor 20.83 CPM -> 1uSv/h (working voltage- 400V)
SI22G            - conversion factor 792 CPM -> 1uSv/h (working voltage- 400V)
SBM-19         - conversion factor 928 CPM -> 1uSv/h (working voltage- 400V)
STS-6             - conversion factor 928 CPM -> 1uSv/h (working voltage- 400V)
SBT-9            - conversion factor 150 CPM -> 1uSv/h (working voltage- 400V)
SI-29BG        - conversion factor 122 or 112 CPM -> 1uSv/h (depending on batch) (400V)
SBT11           - conversion factor 220 or 318 CPM -> 1uSv/h (depending on batch) (390V)
SBT11A         - conversion factor 220 or 318 CPM -> 1uSv/h (depending on batch)( 390V)
SBT10           - conversion factor 1250 CPM -> 1uSv/h (380V) (depending on batch)(345V)
SBT10A        - conversion factor 1250 CPM -> 1uSv/h (380V) (depending on batch)(345V)
SI8B              - conversion factor 1250 CPM -> 1uSv/h (400V)
SI8BM           - conversion factor 931 CPM -> 1uSv/h (380V)

2017 m. kovo 5 d., sekmadienis

Cheap but "All-INCLUSIVE ★★★★★" :) solution how to power 5V circuits from rechargeable 18650 battery

Browsing on eBay I have just discovered an excellent cheap and truly "All-INCLUSIVE" solution how to power your 5V circuits from rechargeable 18650 battery so I have decided to tell about it to anyone who gets here  to my blog:

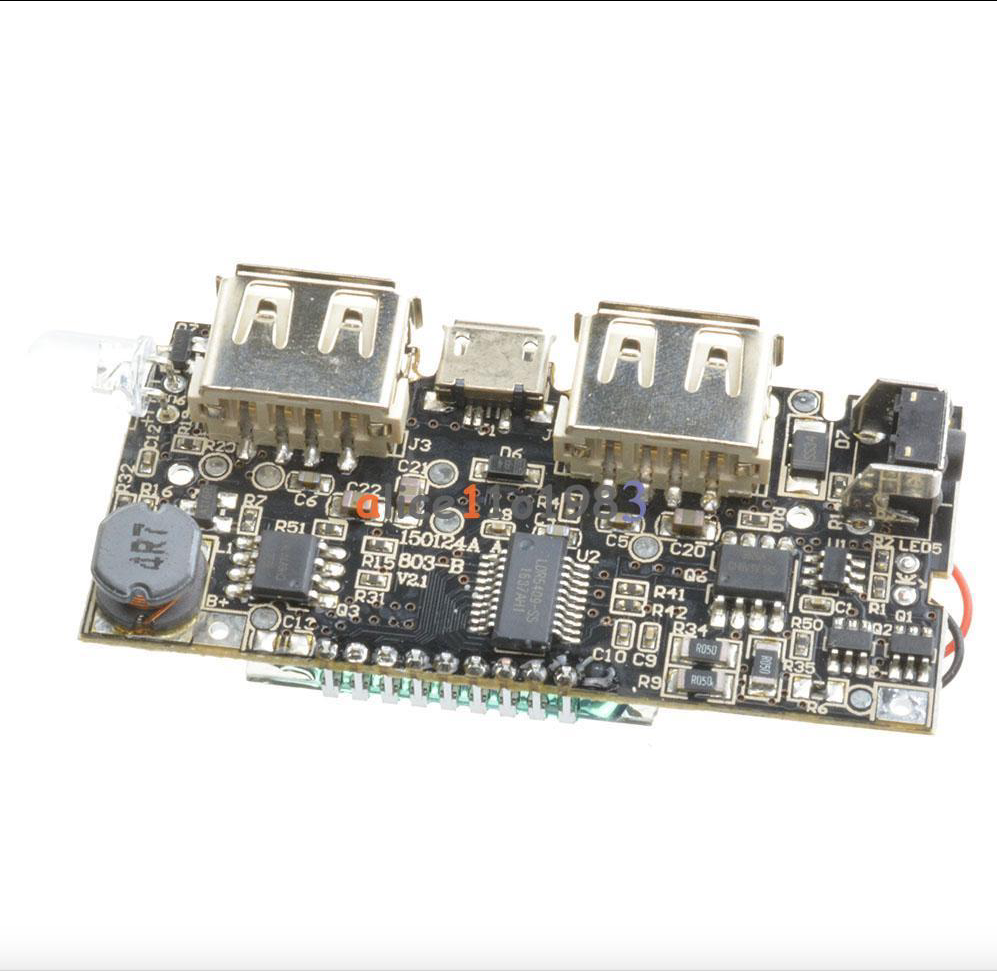
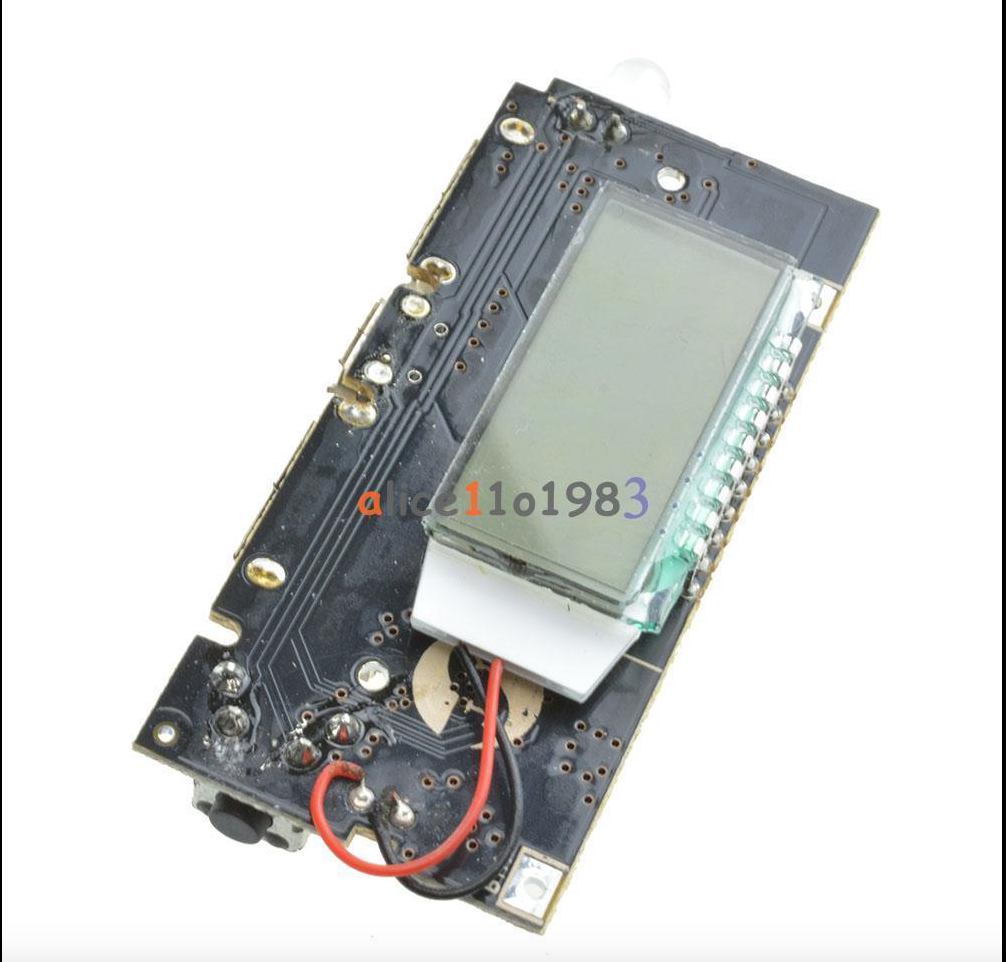
The thing looks like this:


First of all this LDR5409-SS (http://radioskot.ru/_fr/73/LDR5409_Spec_CH.pdf or https://www.dropbox.com/s/gf7exhyvar4no87/LDR5409_Spec_CH.pdf?dl=0 ) module is well designed as it already has secondary battery protection from extreme undercharging (to 2.5V) or overcharging (>4.2V) based on DW01A chip 8205S MOSFET s.
This secondary protection isolates the battery from the rest of the circuit.

The second good thing is that with a little modification this circuit can be used for powering 5V low power devices from the 18650 rechargeable batteries.

Here the main problem with power-bank circuits is, that they monitor load current and if it is lower than ~100mA they decide that the target battery is already charged and it is time for them to get to sleep. So they simply would disconnect your load after a minute or a half a minute.

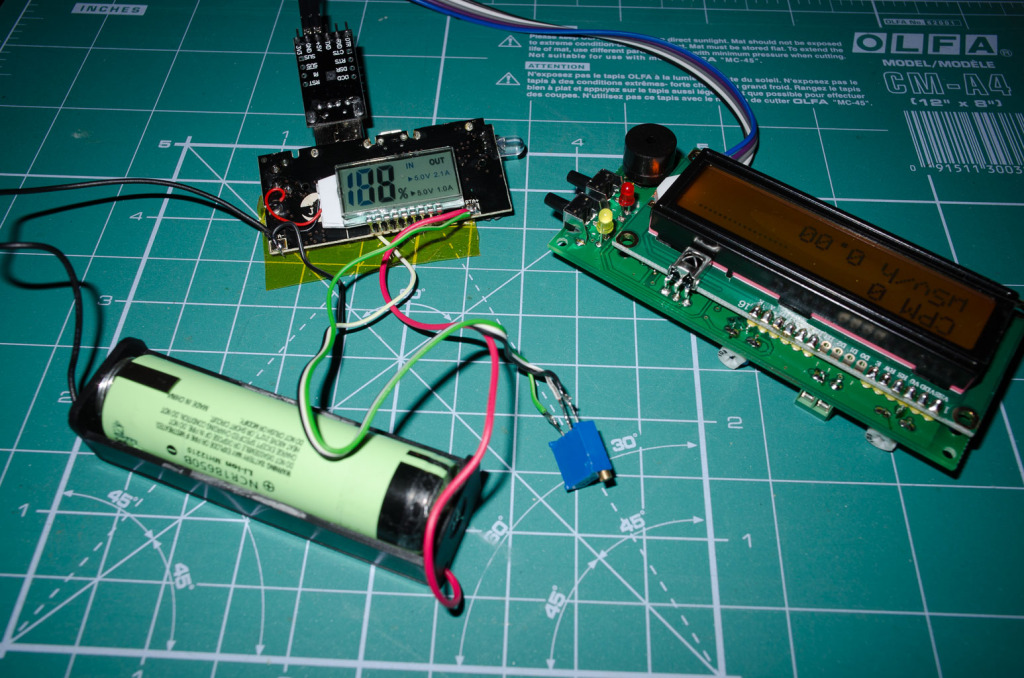
By removing R41 (see note 1 below) and through the voltage divider between BTA- (the absolutely correct way would be to find the negative point after the battery protection but for the quick test I used BAT-) and BTA+ of total resistance around 500KOhm providing 30mV to the pin 16 (see note 1 below) of the LDR4509 chip. I used a multi-turn 504 (500K) potentiometer with real (measured) resistance of 494,44K preset so that 7.44 was between pin 16 and BTA- while   487K beween pin 16 and BTA+ (no need for being too exact here but approximately R(BTA-)1.5% to 98.5%R(BTA+) ) .When done so, circuit will not be getting to sleep despite low load current and powering down the load. This also helps when power-bank constantly disconnects while the phone is not yet charged (meaning you can charge phones which use low charge current).

!!! So with this you get !!!:

a) secondary 18650 protection from extreme over-charge/over-discharge/over-current so you can use unprotected 18650 batteries which are cheaper to buy or can be salvaged from old notebook assemblies.
b) charger for your 4.2V 18650 rechargeable battery with LCD charge monitor. Which will disconnect the load when battery reaches 2.8V, which is good for battery life.
c) step up inverter from battery voltage to 5V for your low current usage circuit
d) switch which would switch on your circuit by short press of the button and switch off by long hold on the button
e) bright LED flashlight (double click on the button switches it on or off)


The only CON s:

1. when you connect the power source to charge the battery it disconnects your load from the battery. But for a few the price this is miniscule.
2. not sure, but as it is not mentioned in the datas-heet of the LDR5409 it might have no over-temperature protection. But thats is not yet for sure as most popular Chinese charging chips like TP4056 and TP5410 have it.

So here's my test setup:


Note1:

LDR5409-SS hip has two current detectors so instead  it is possible to remove R41 and connect the middle of voltage divider to pin 18.


UPDATE 1 

This is my next modification, where I connect he resistor divider after the immediate battery protection circuit so power (though minuscule around 10μA) is drawn from the already protected battery.

Here below are related videos.


UPDATE 2

Have checked how long the Panasonic unprotected NCR18650B 3400 mAh battery powers the geiger counter.

With LCD backlight on it worked over 17 hours. Without the LCD backlight - around 28 hours.

Charging from 0% to 100% took 2.5 hours. Note that not full capacity of the battery is used in order to keep it healthy for long time.

So far looks nice.